Simple app in few minutes
Getting Started
Follow Getting started. You can use existing demo Hasura instance or create new Hasura instance and DB in Hasura Cloud. If you have your own Hasura instance then you need to change the GraphQL Endpoint.
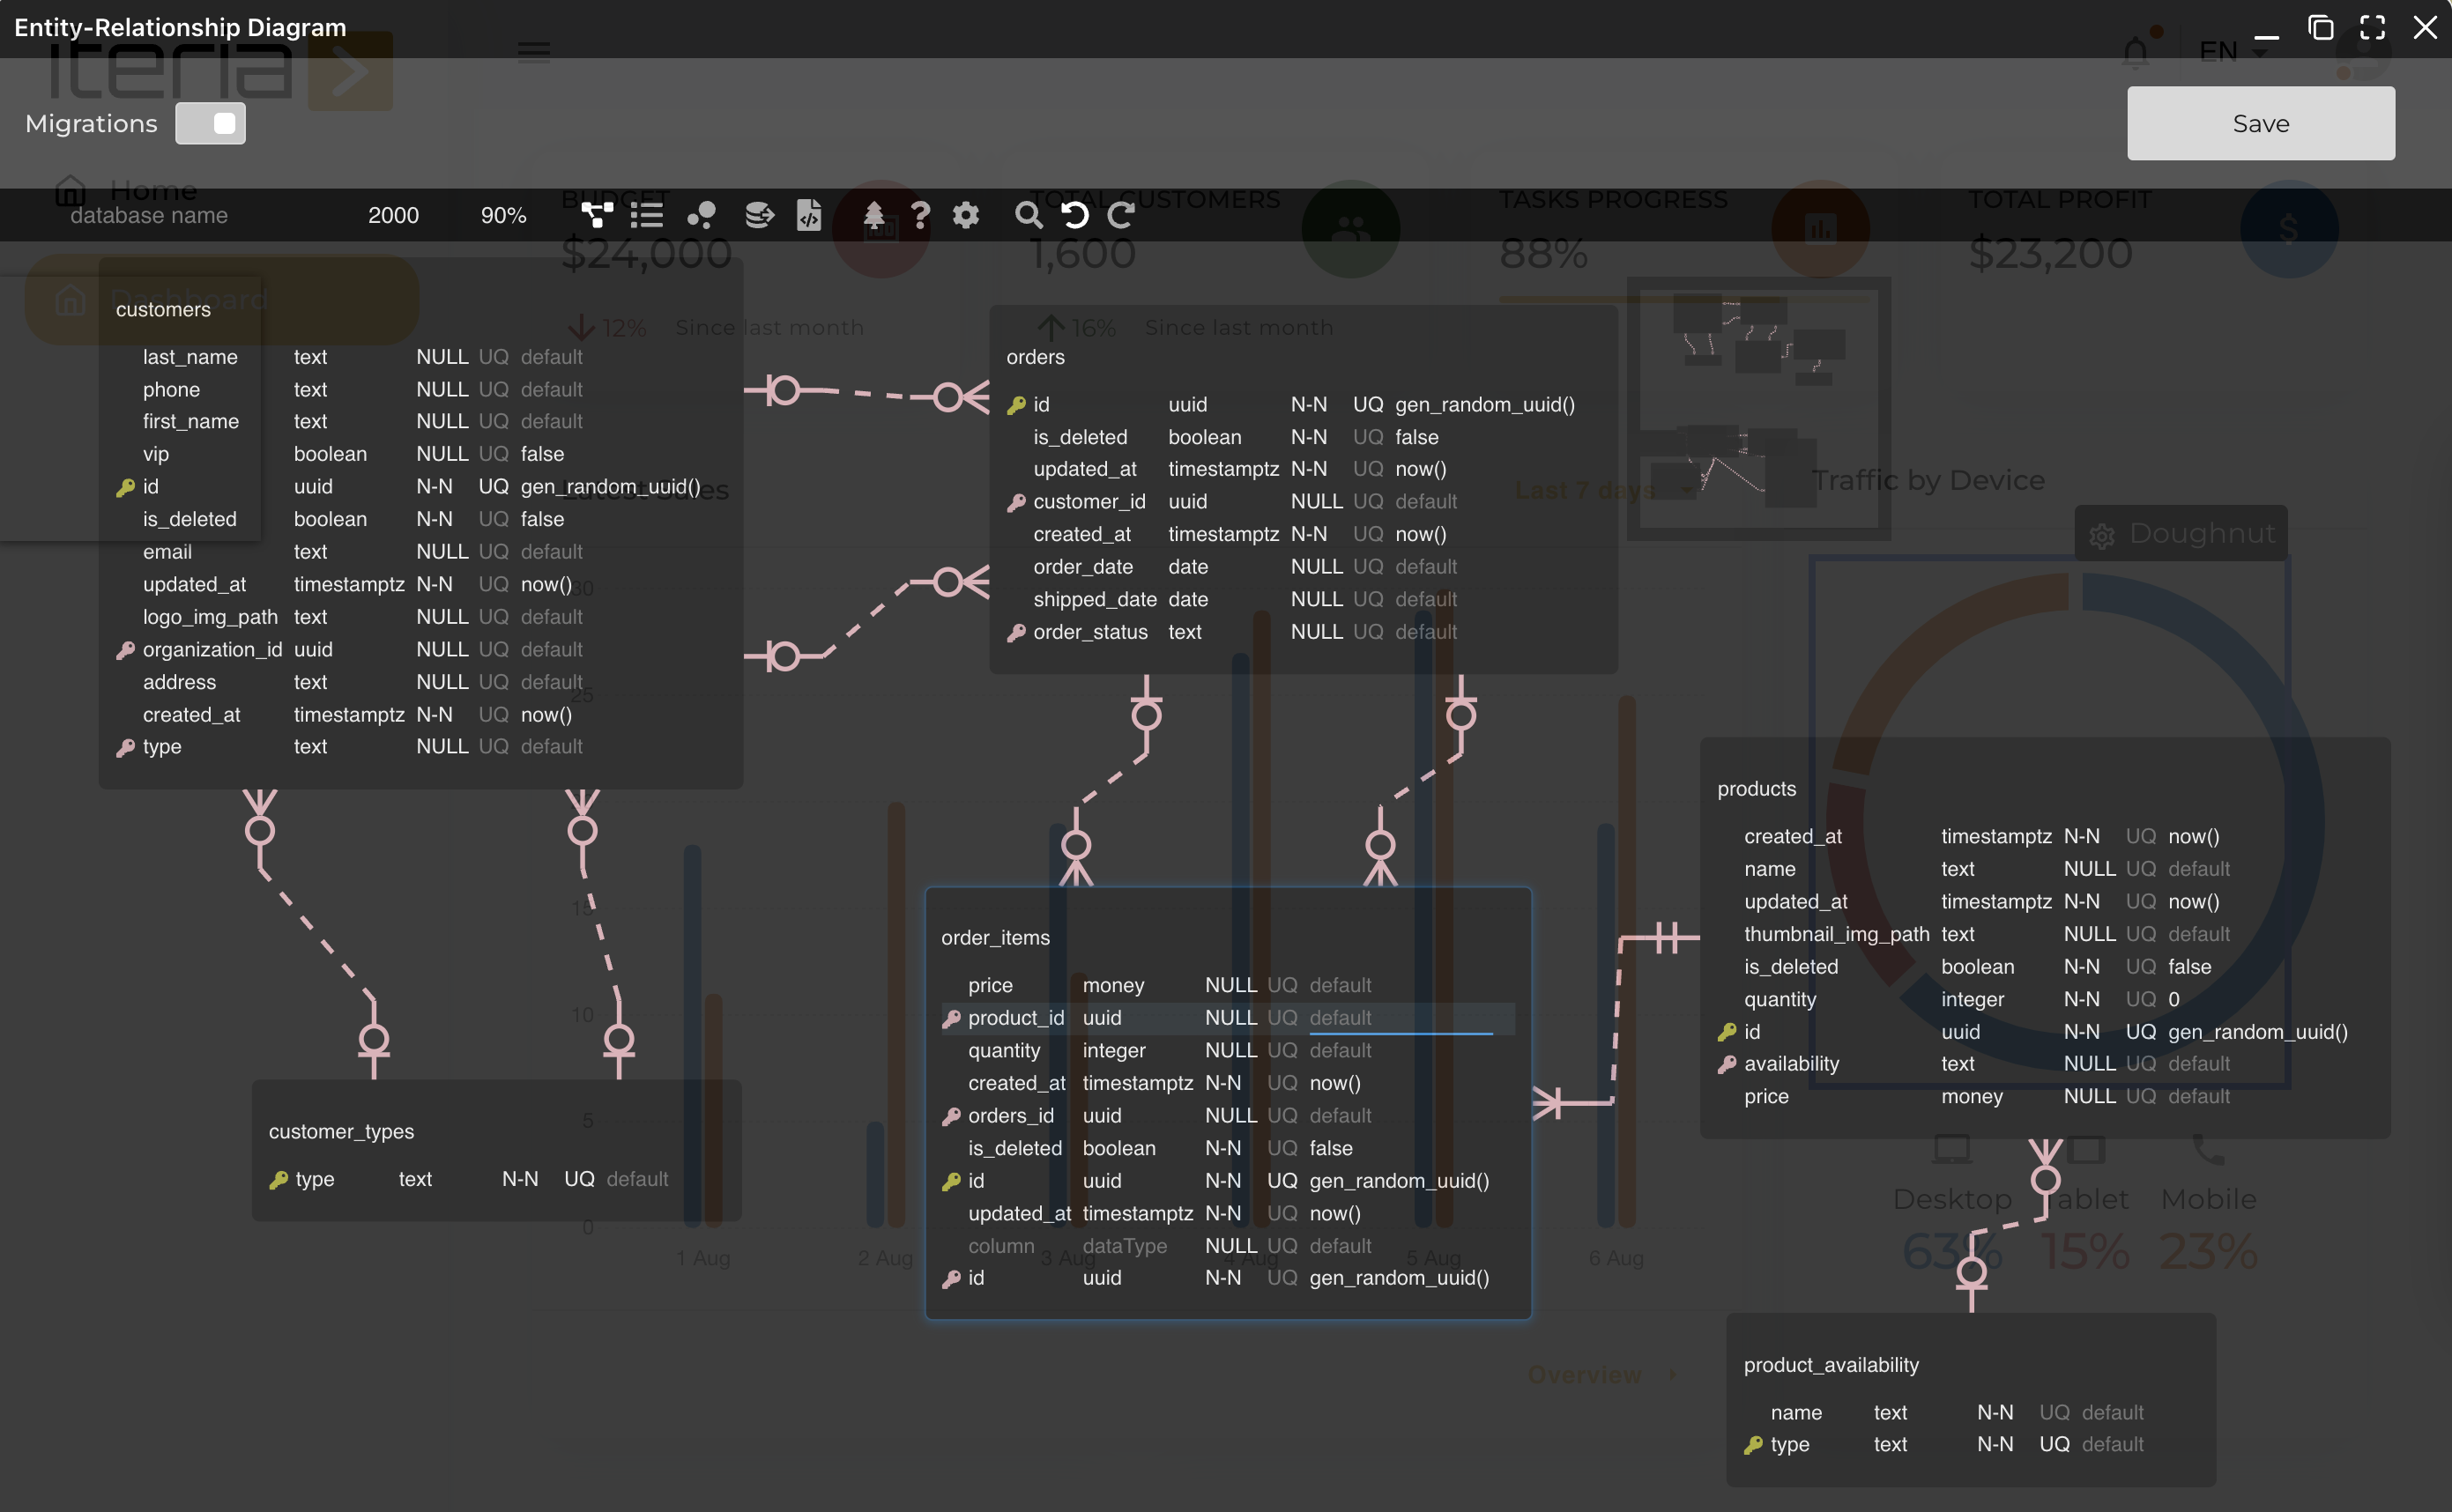
Database schema
Create tables with relationships for Customer, Order, Order Item in hasura console. Here is preview of database model, below you can steps how to create this model.
| Create tables | Screenshot | Description |
|---|---|---|
| 1. Add table Customers | 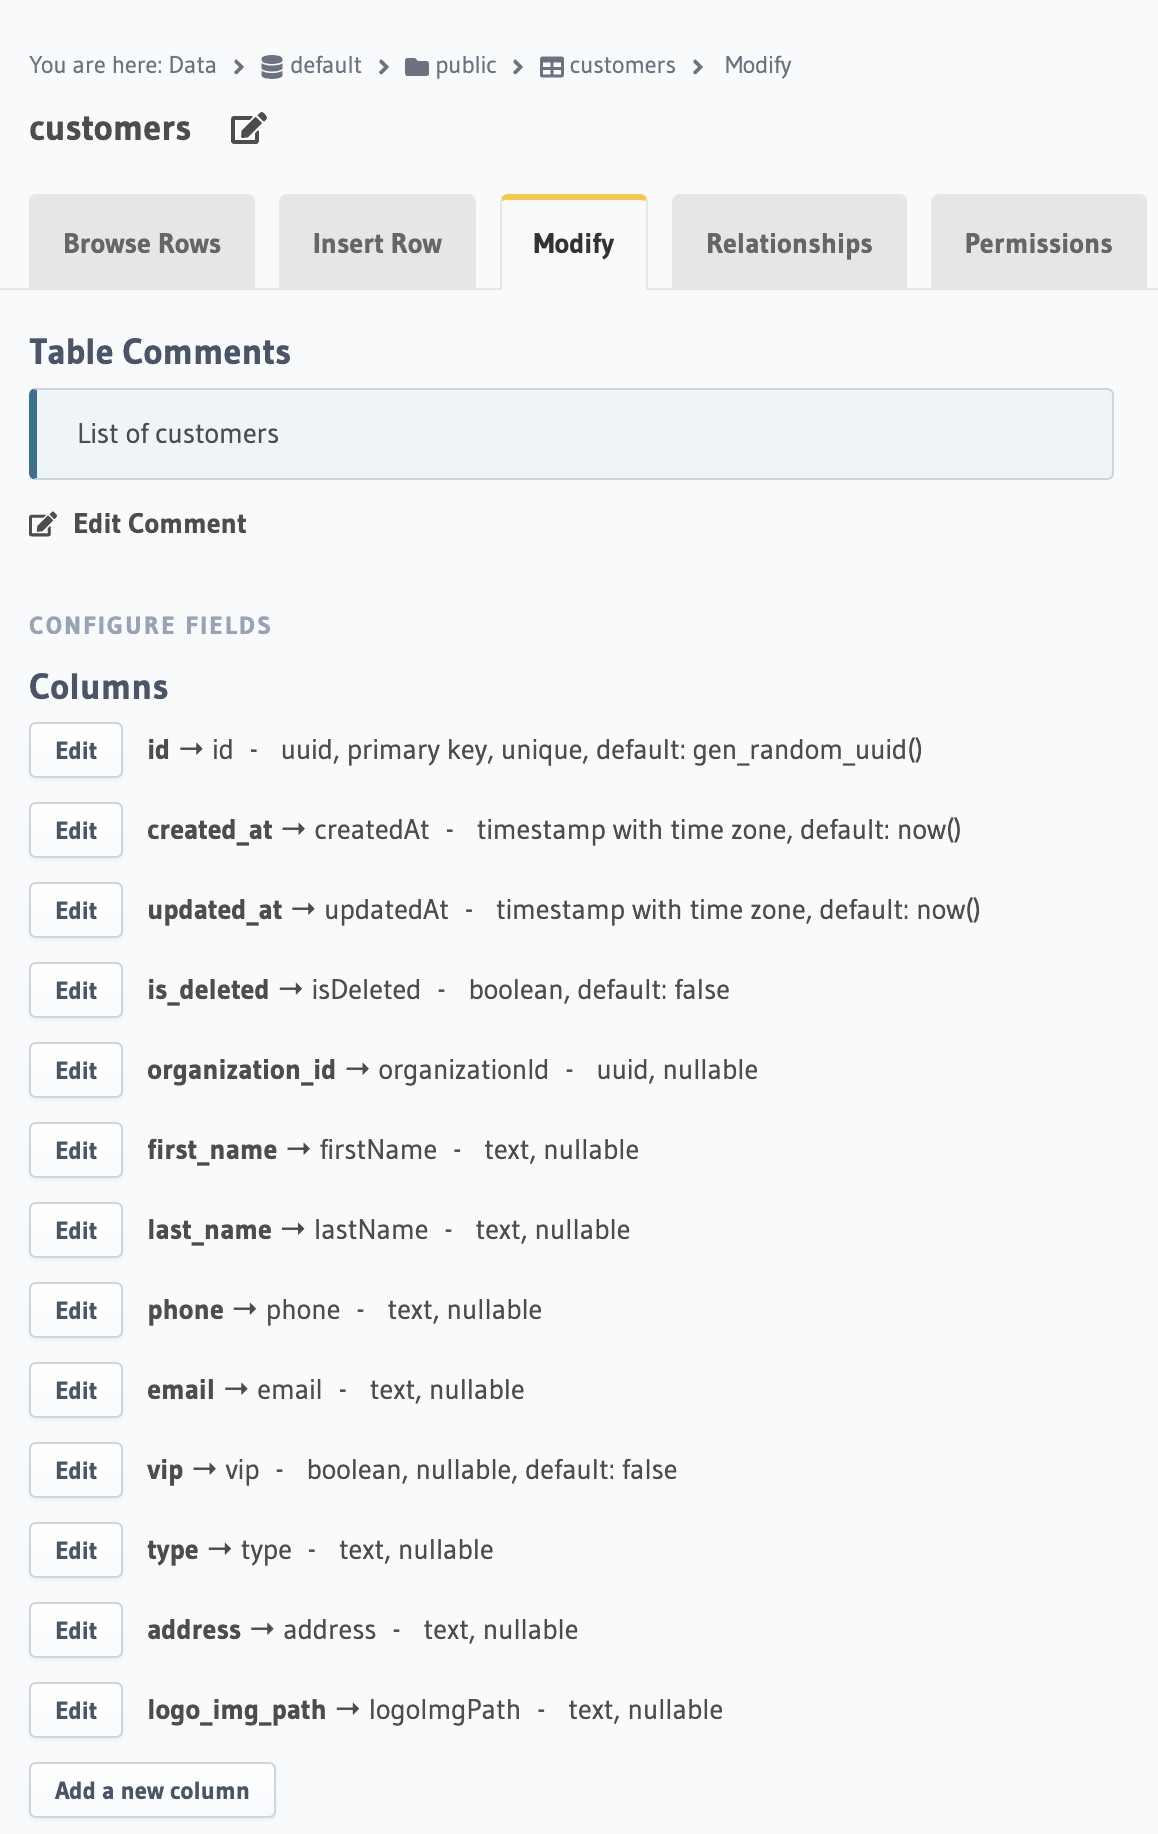 | Create customers table |
| 2. Add table Products | 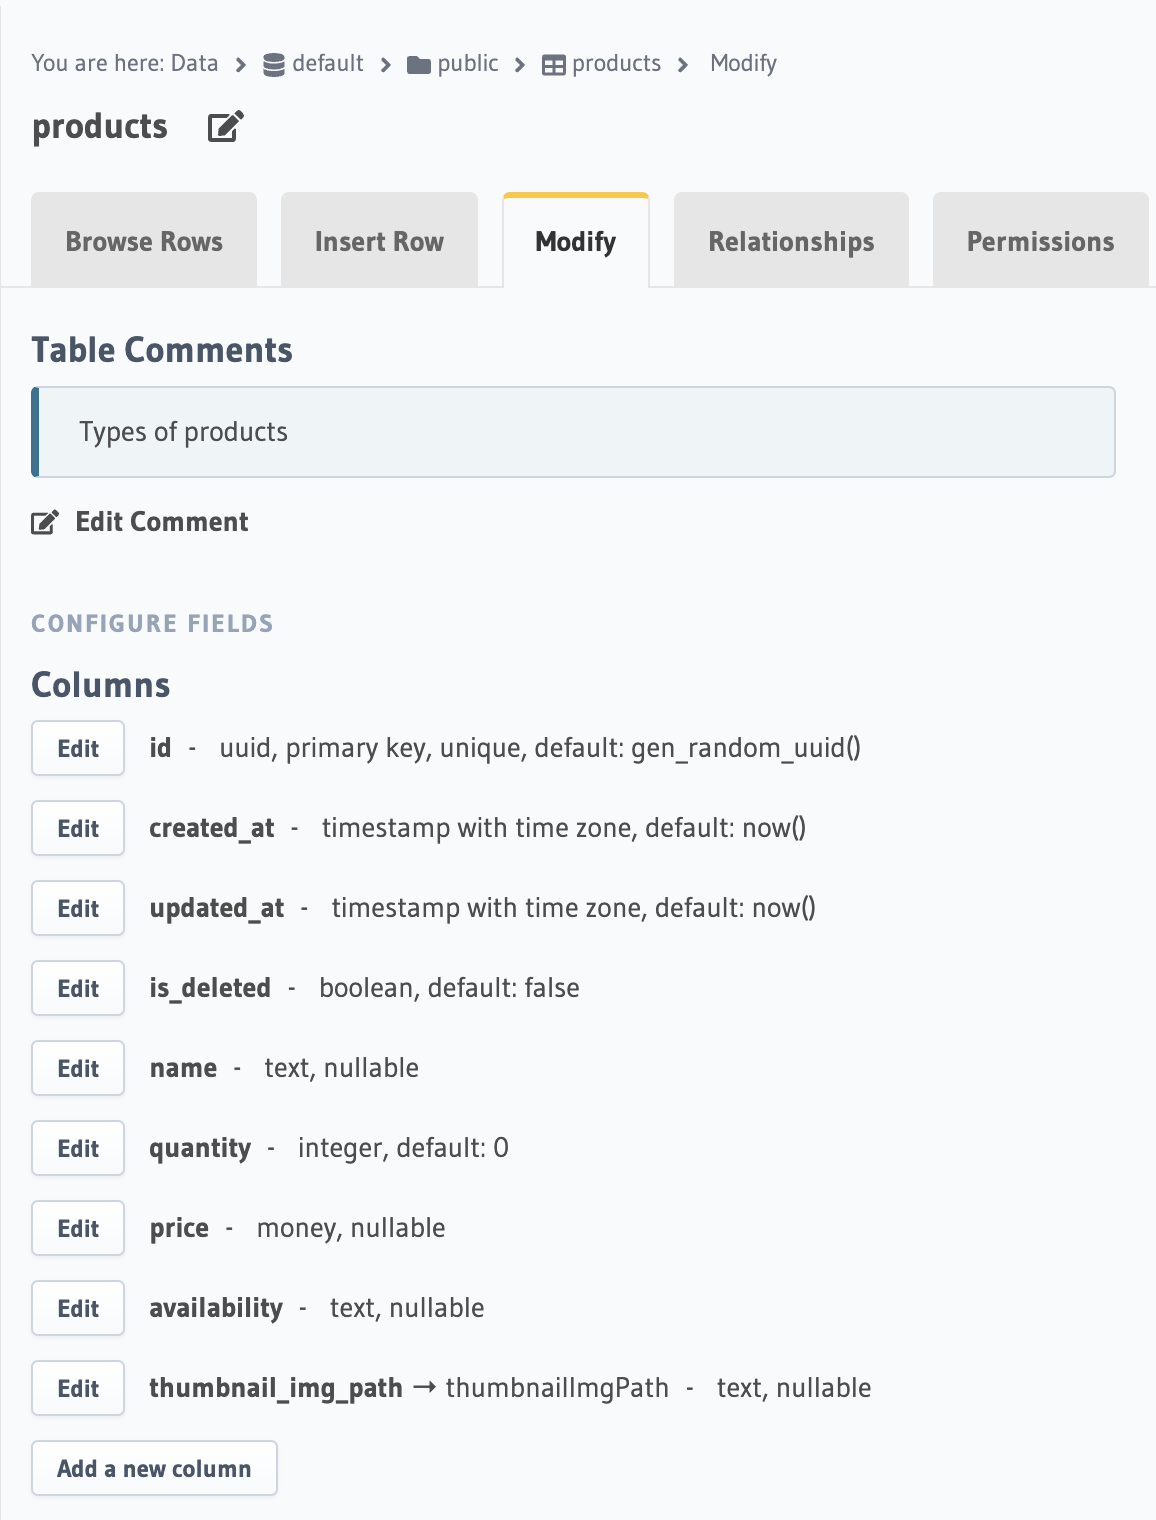 | Create products table |
| 3. Add table Orders | 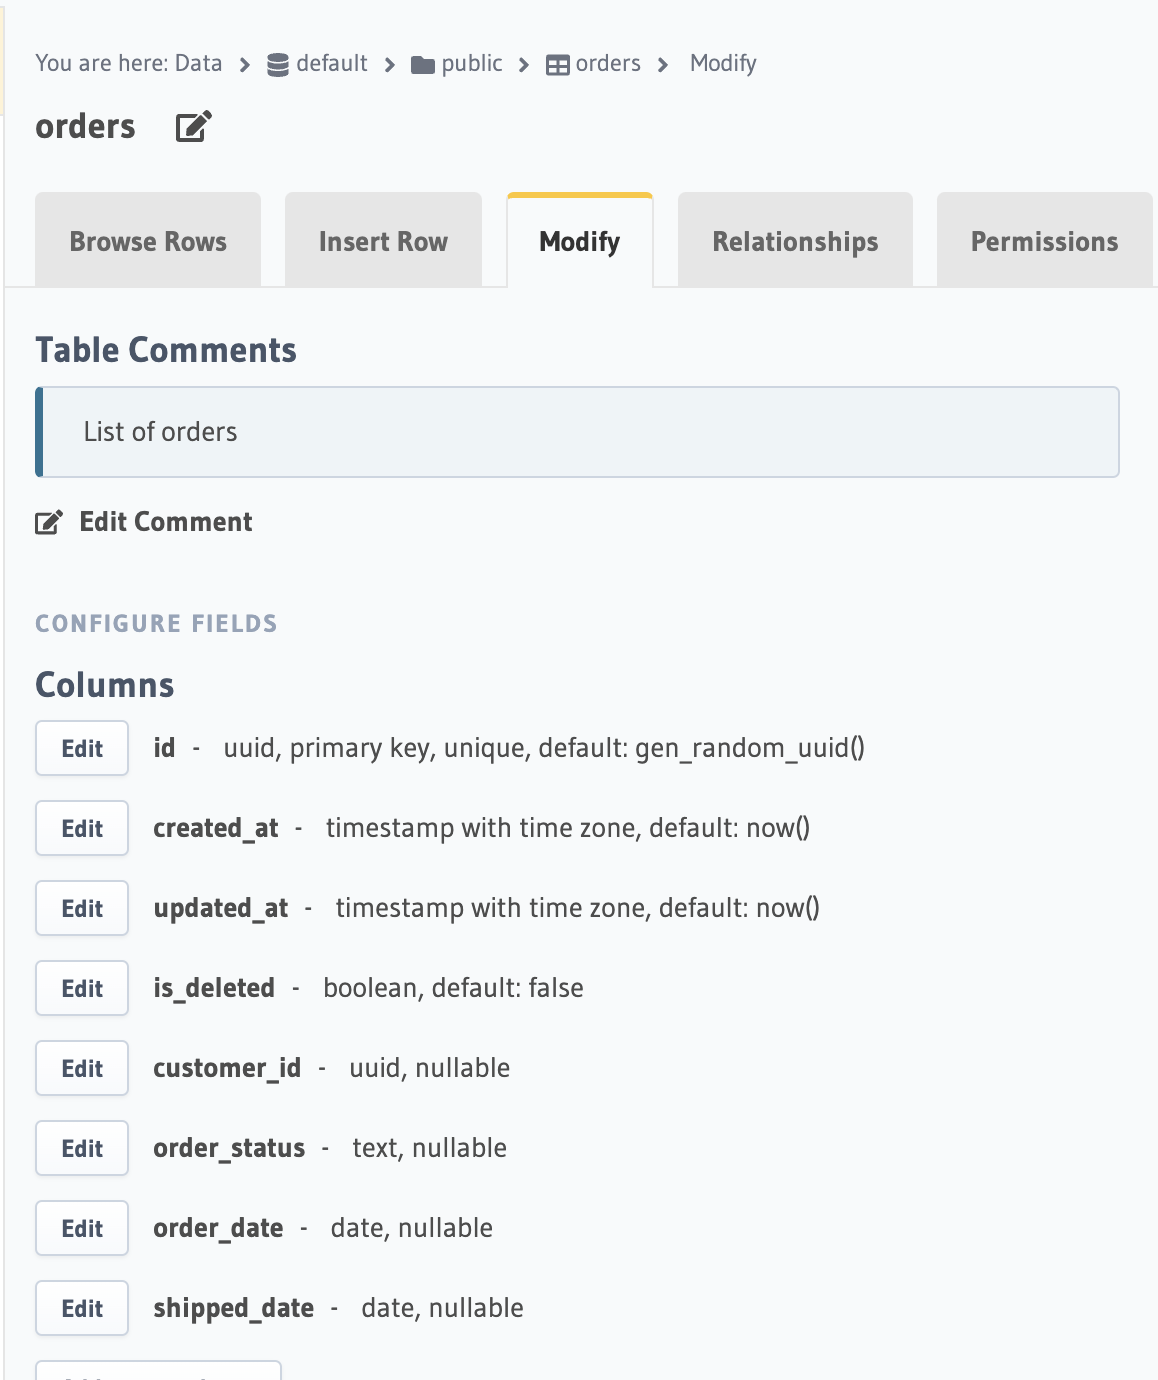 | Create orders table |
| 4. Add table Order Items | 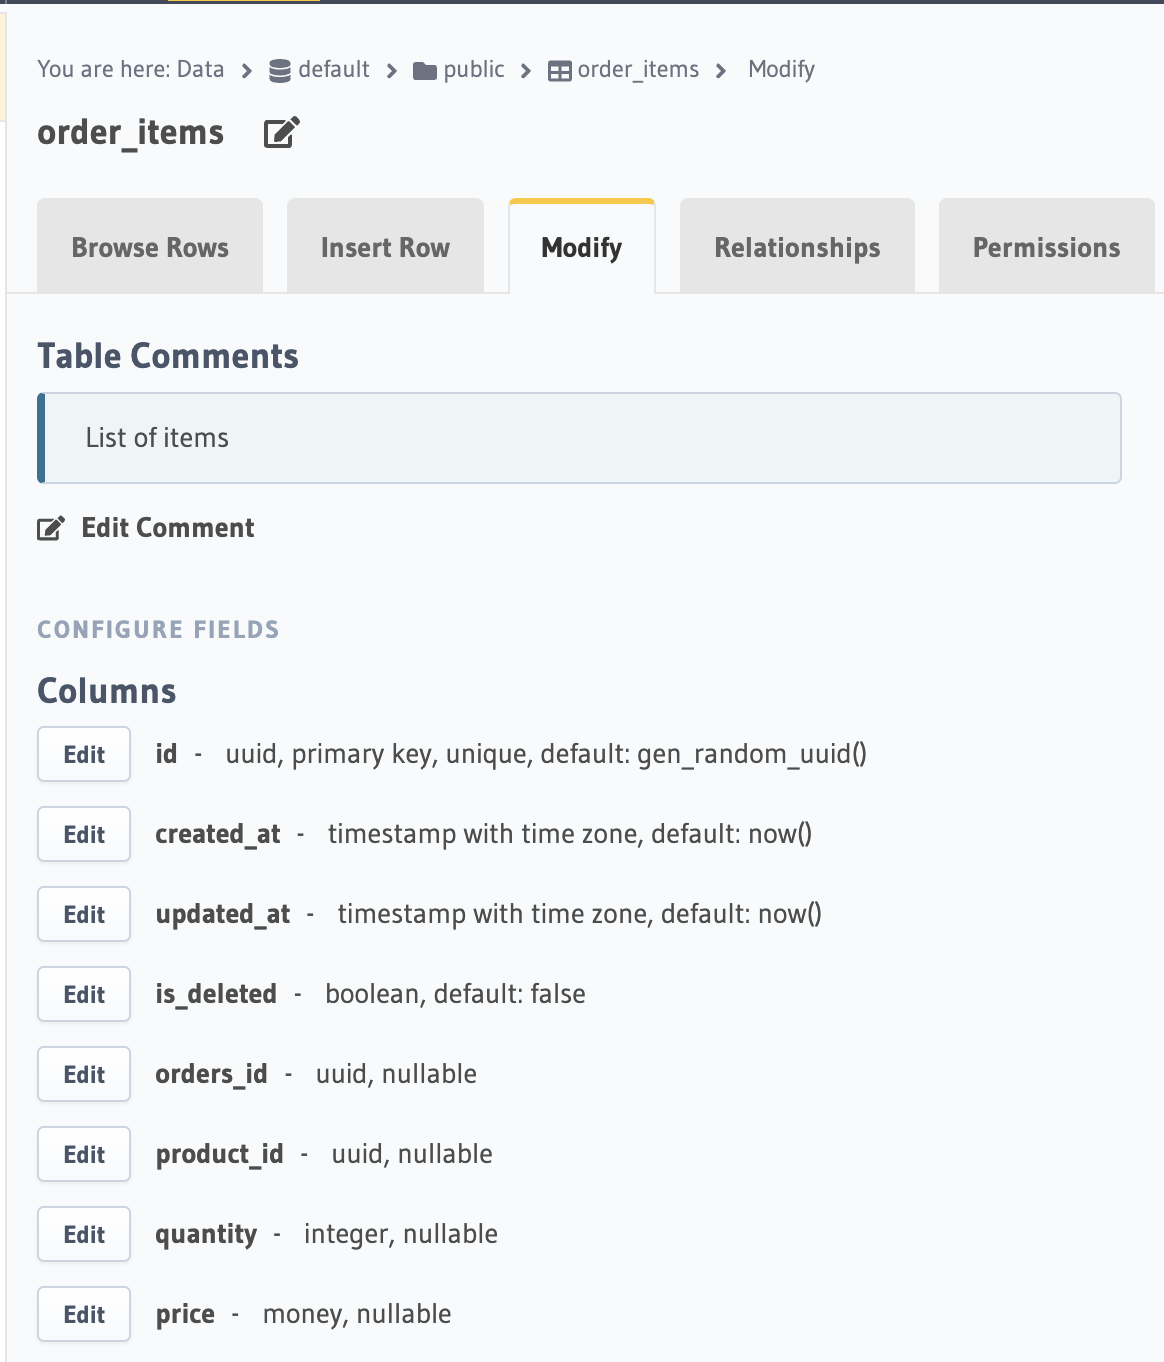 | Create order_items table |
| Add relationships | Screenshot | Description |
|---|---|---|
| 1. Add relationships on Customers table |  | Add organization, orders and enum relationships |
| 2. Add relationships on Products table | 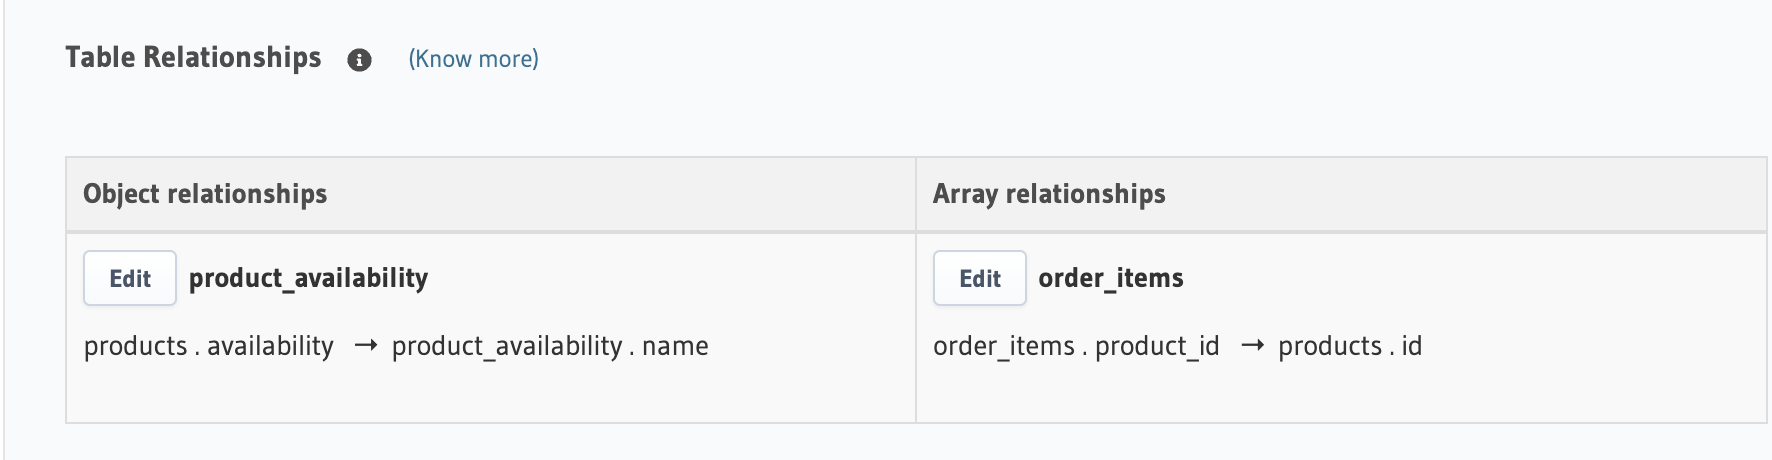 | Add order_items and enum relationships |
| 3. Add relationships on Orders table |  | Add customer, order_items and enum relationships |
| 4. Add relationships on Order Items table | 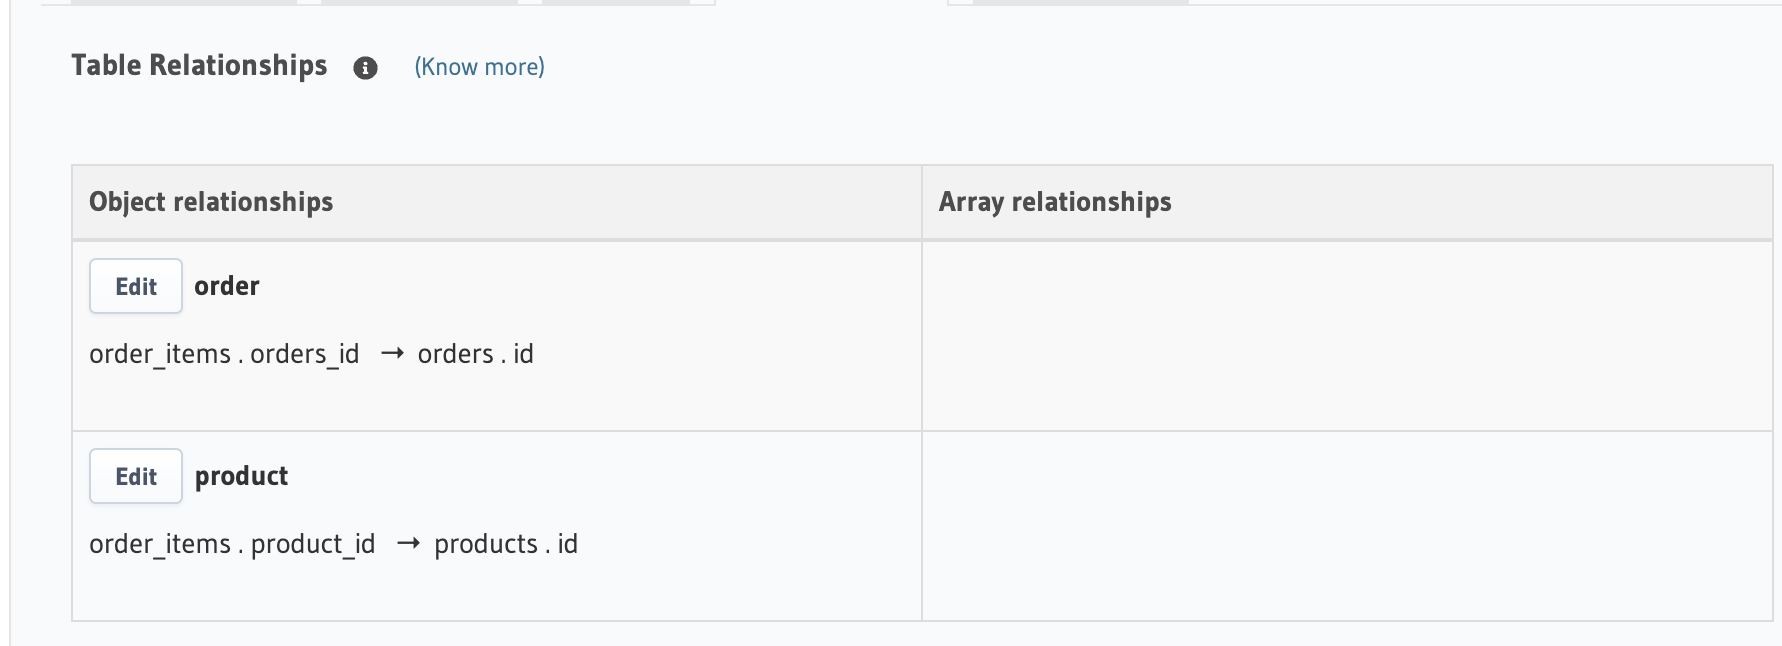 | Add order and product relationships |
App UI
 // kolaž
On the left side you can open generated pages from menu.
Generate page and components
| Add page & components | Screenshot | Description |
|---|---|---|
| 5. Generate Page Customers | 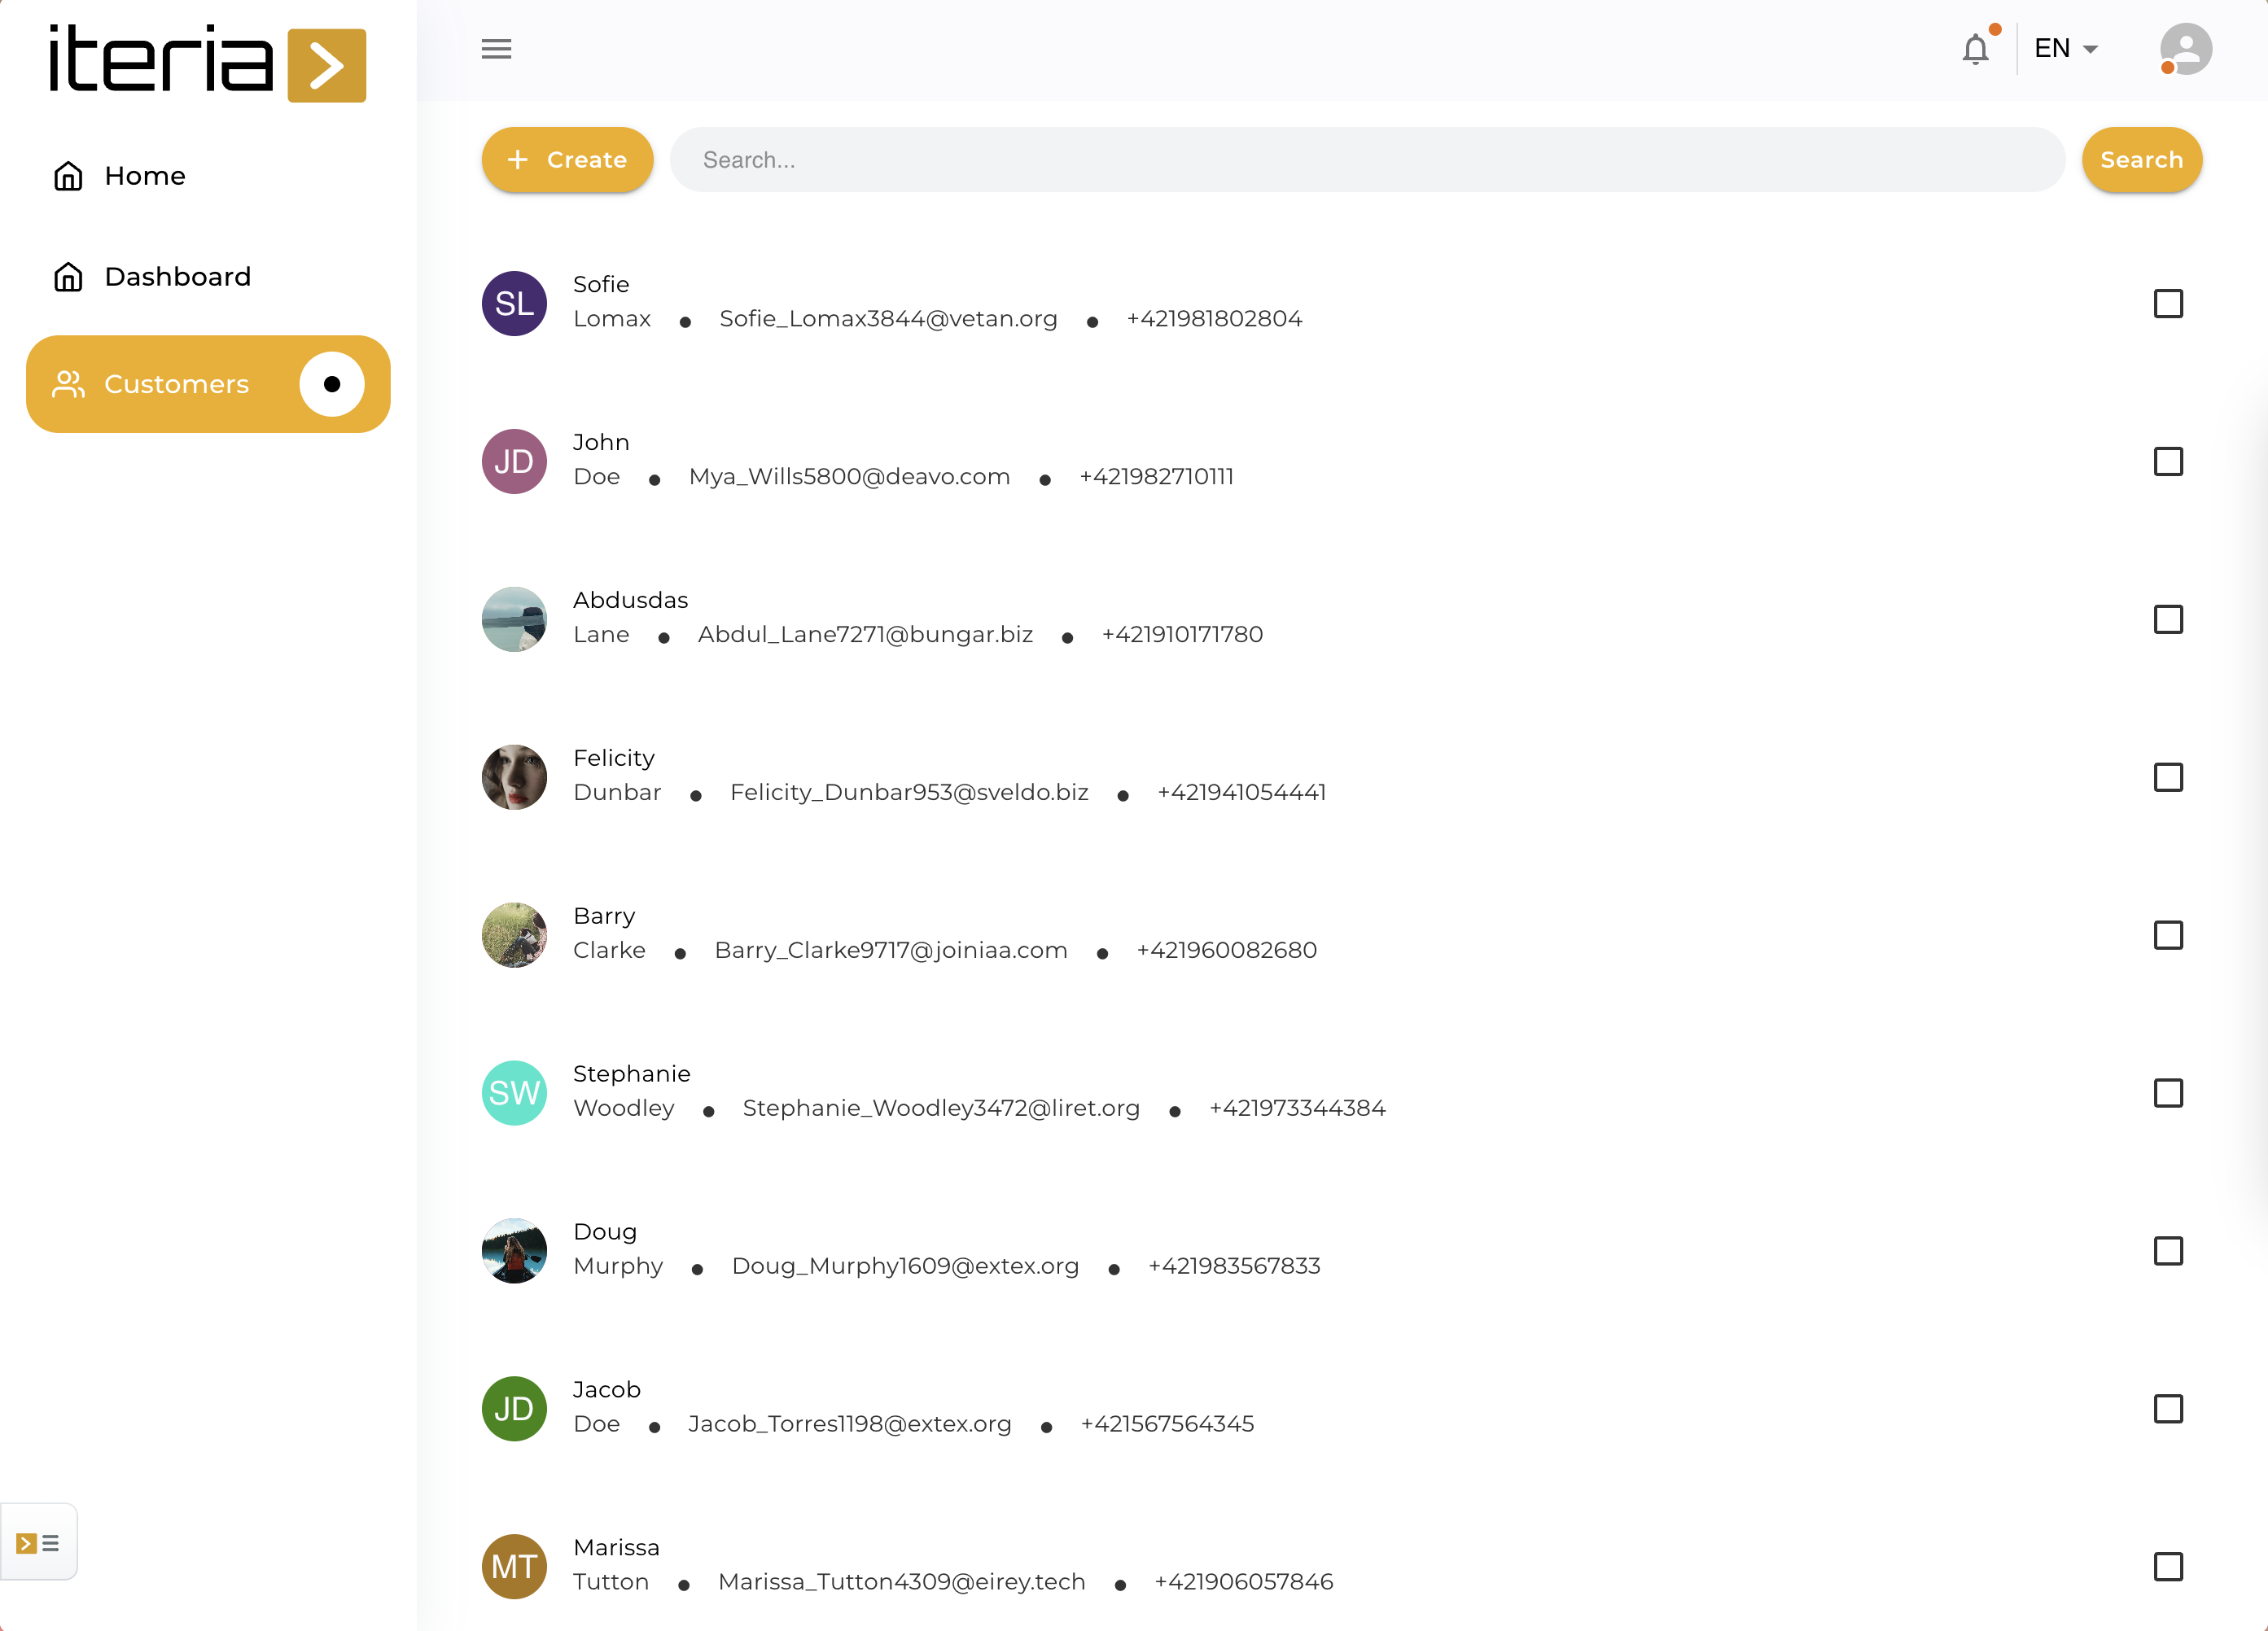 | List template |
| 6. Generate Page Products |  | Thumbnails template |
| 7. Generate Page Orders | 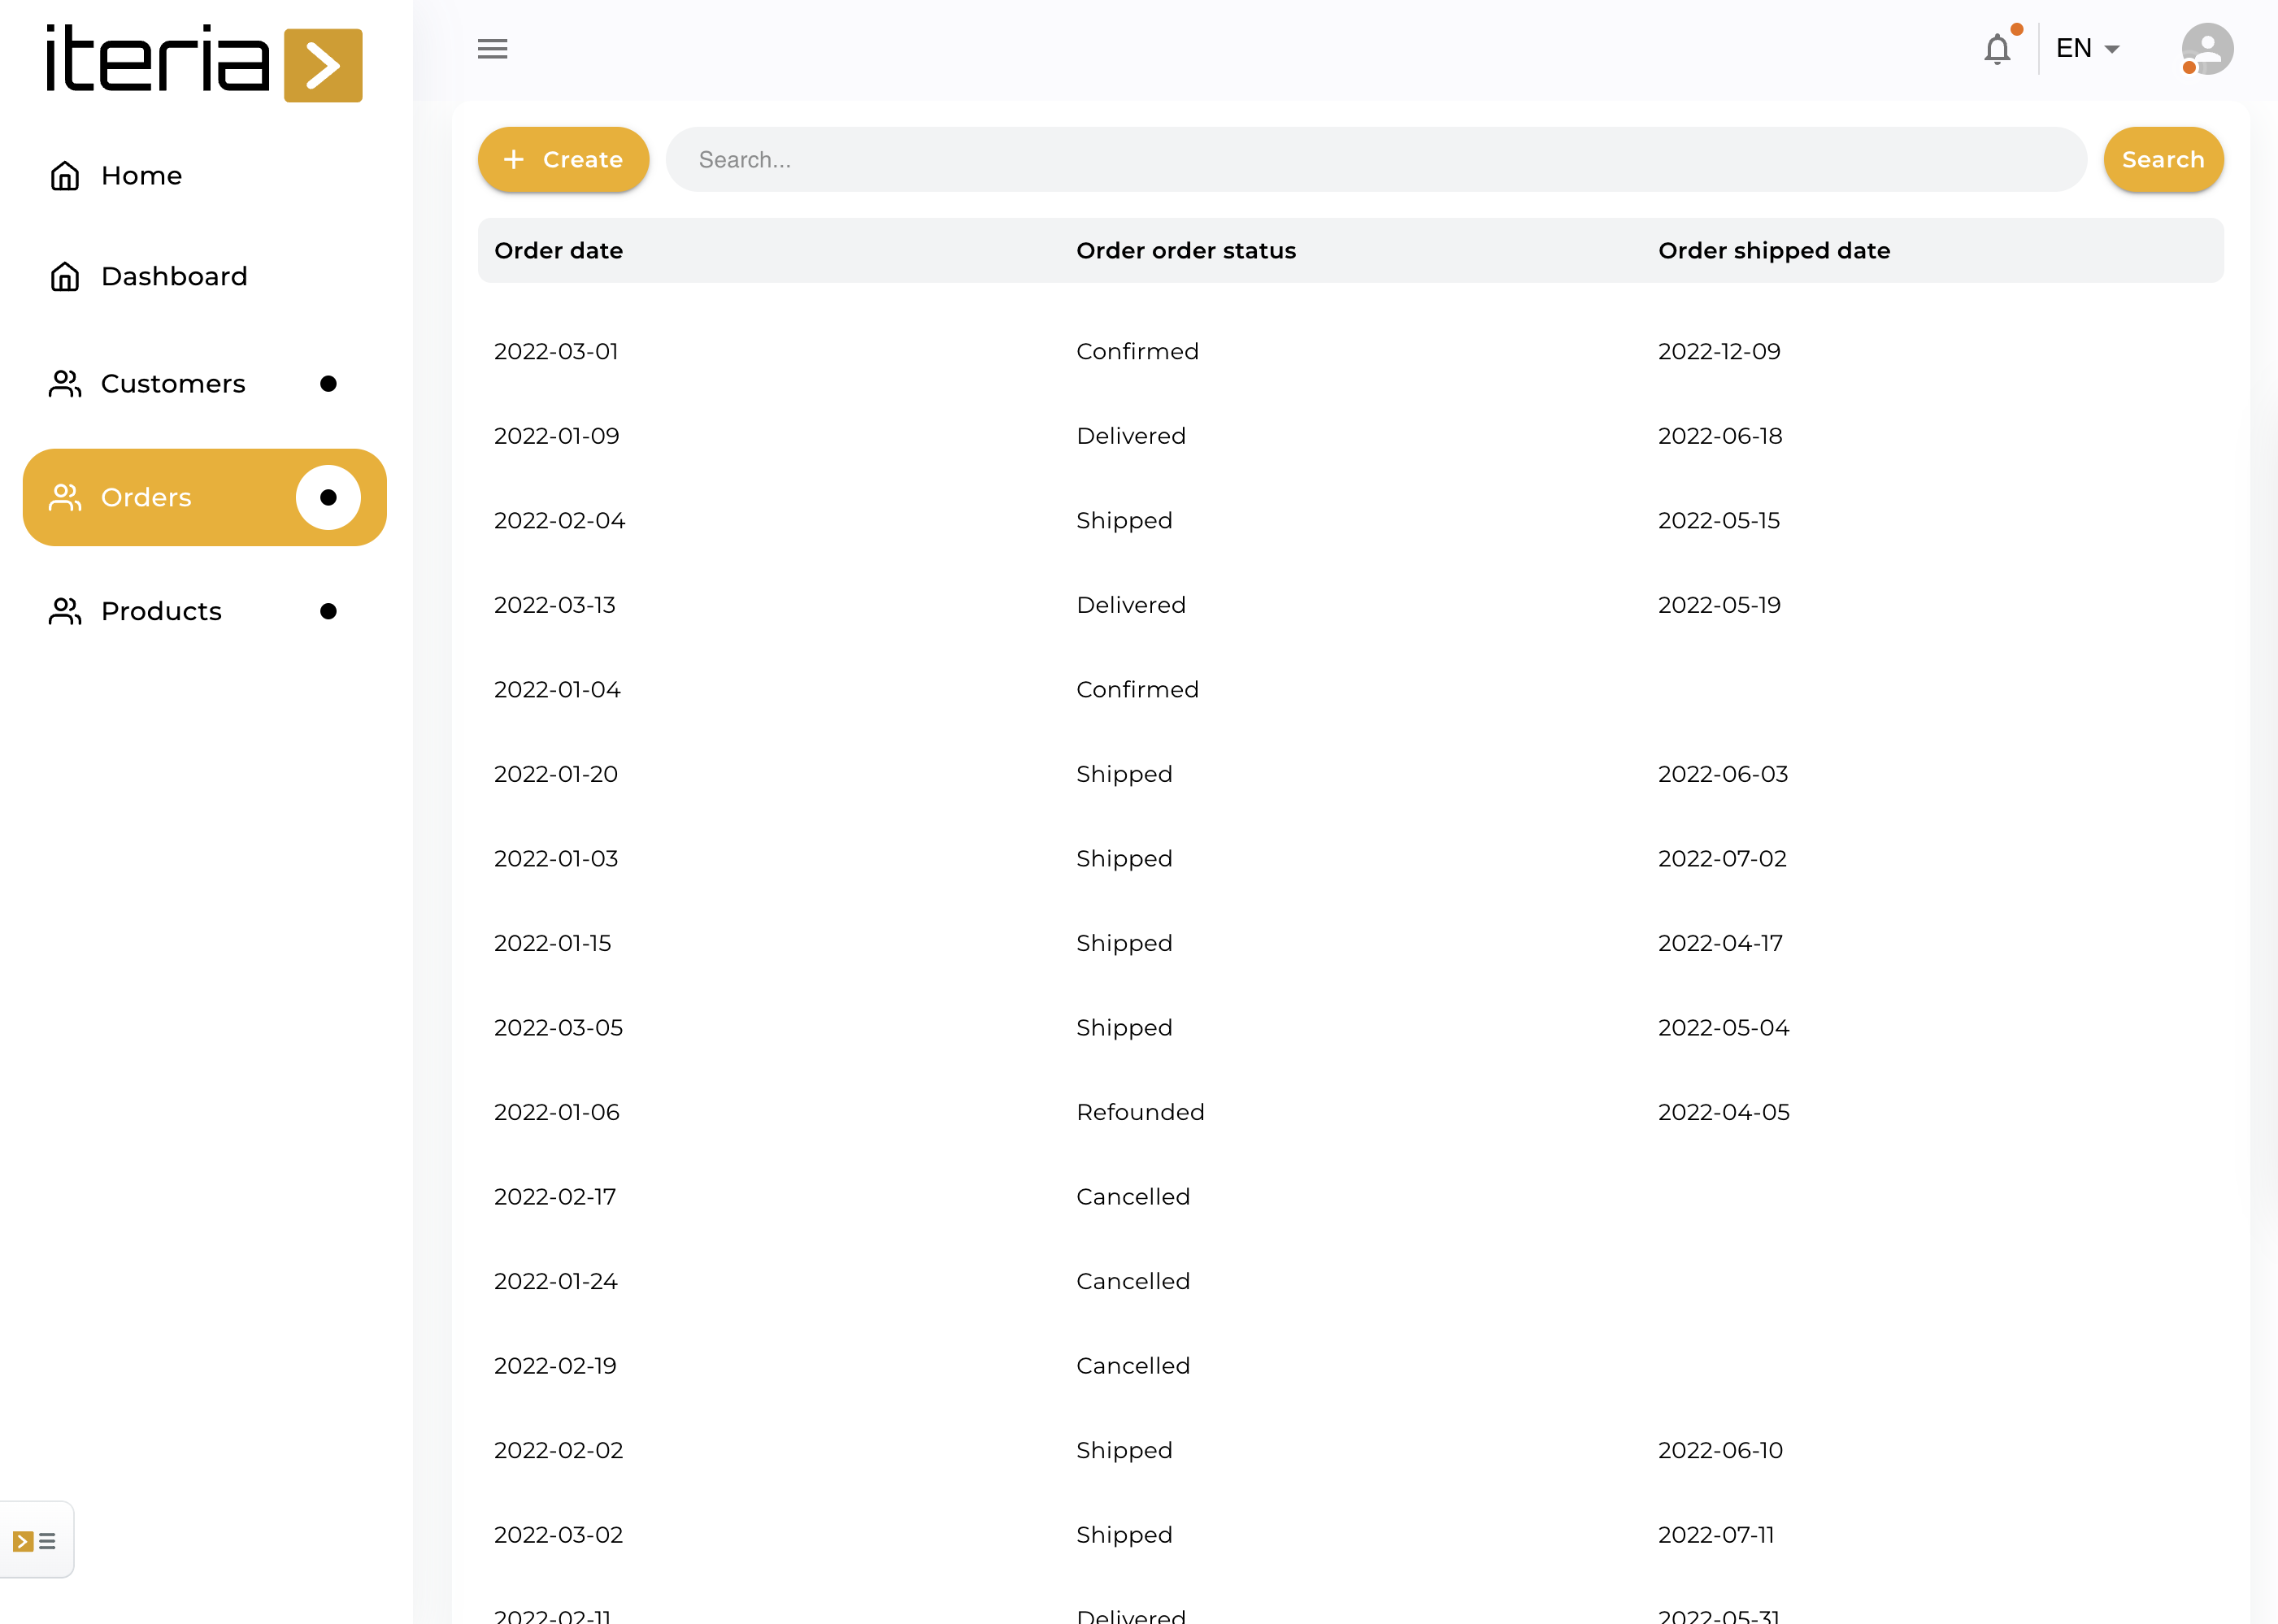 | Data table template |
| 8. Add Order Items Components | 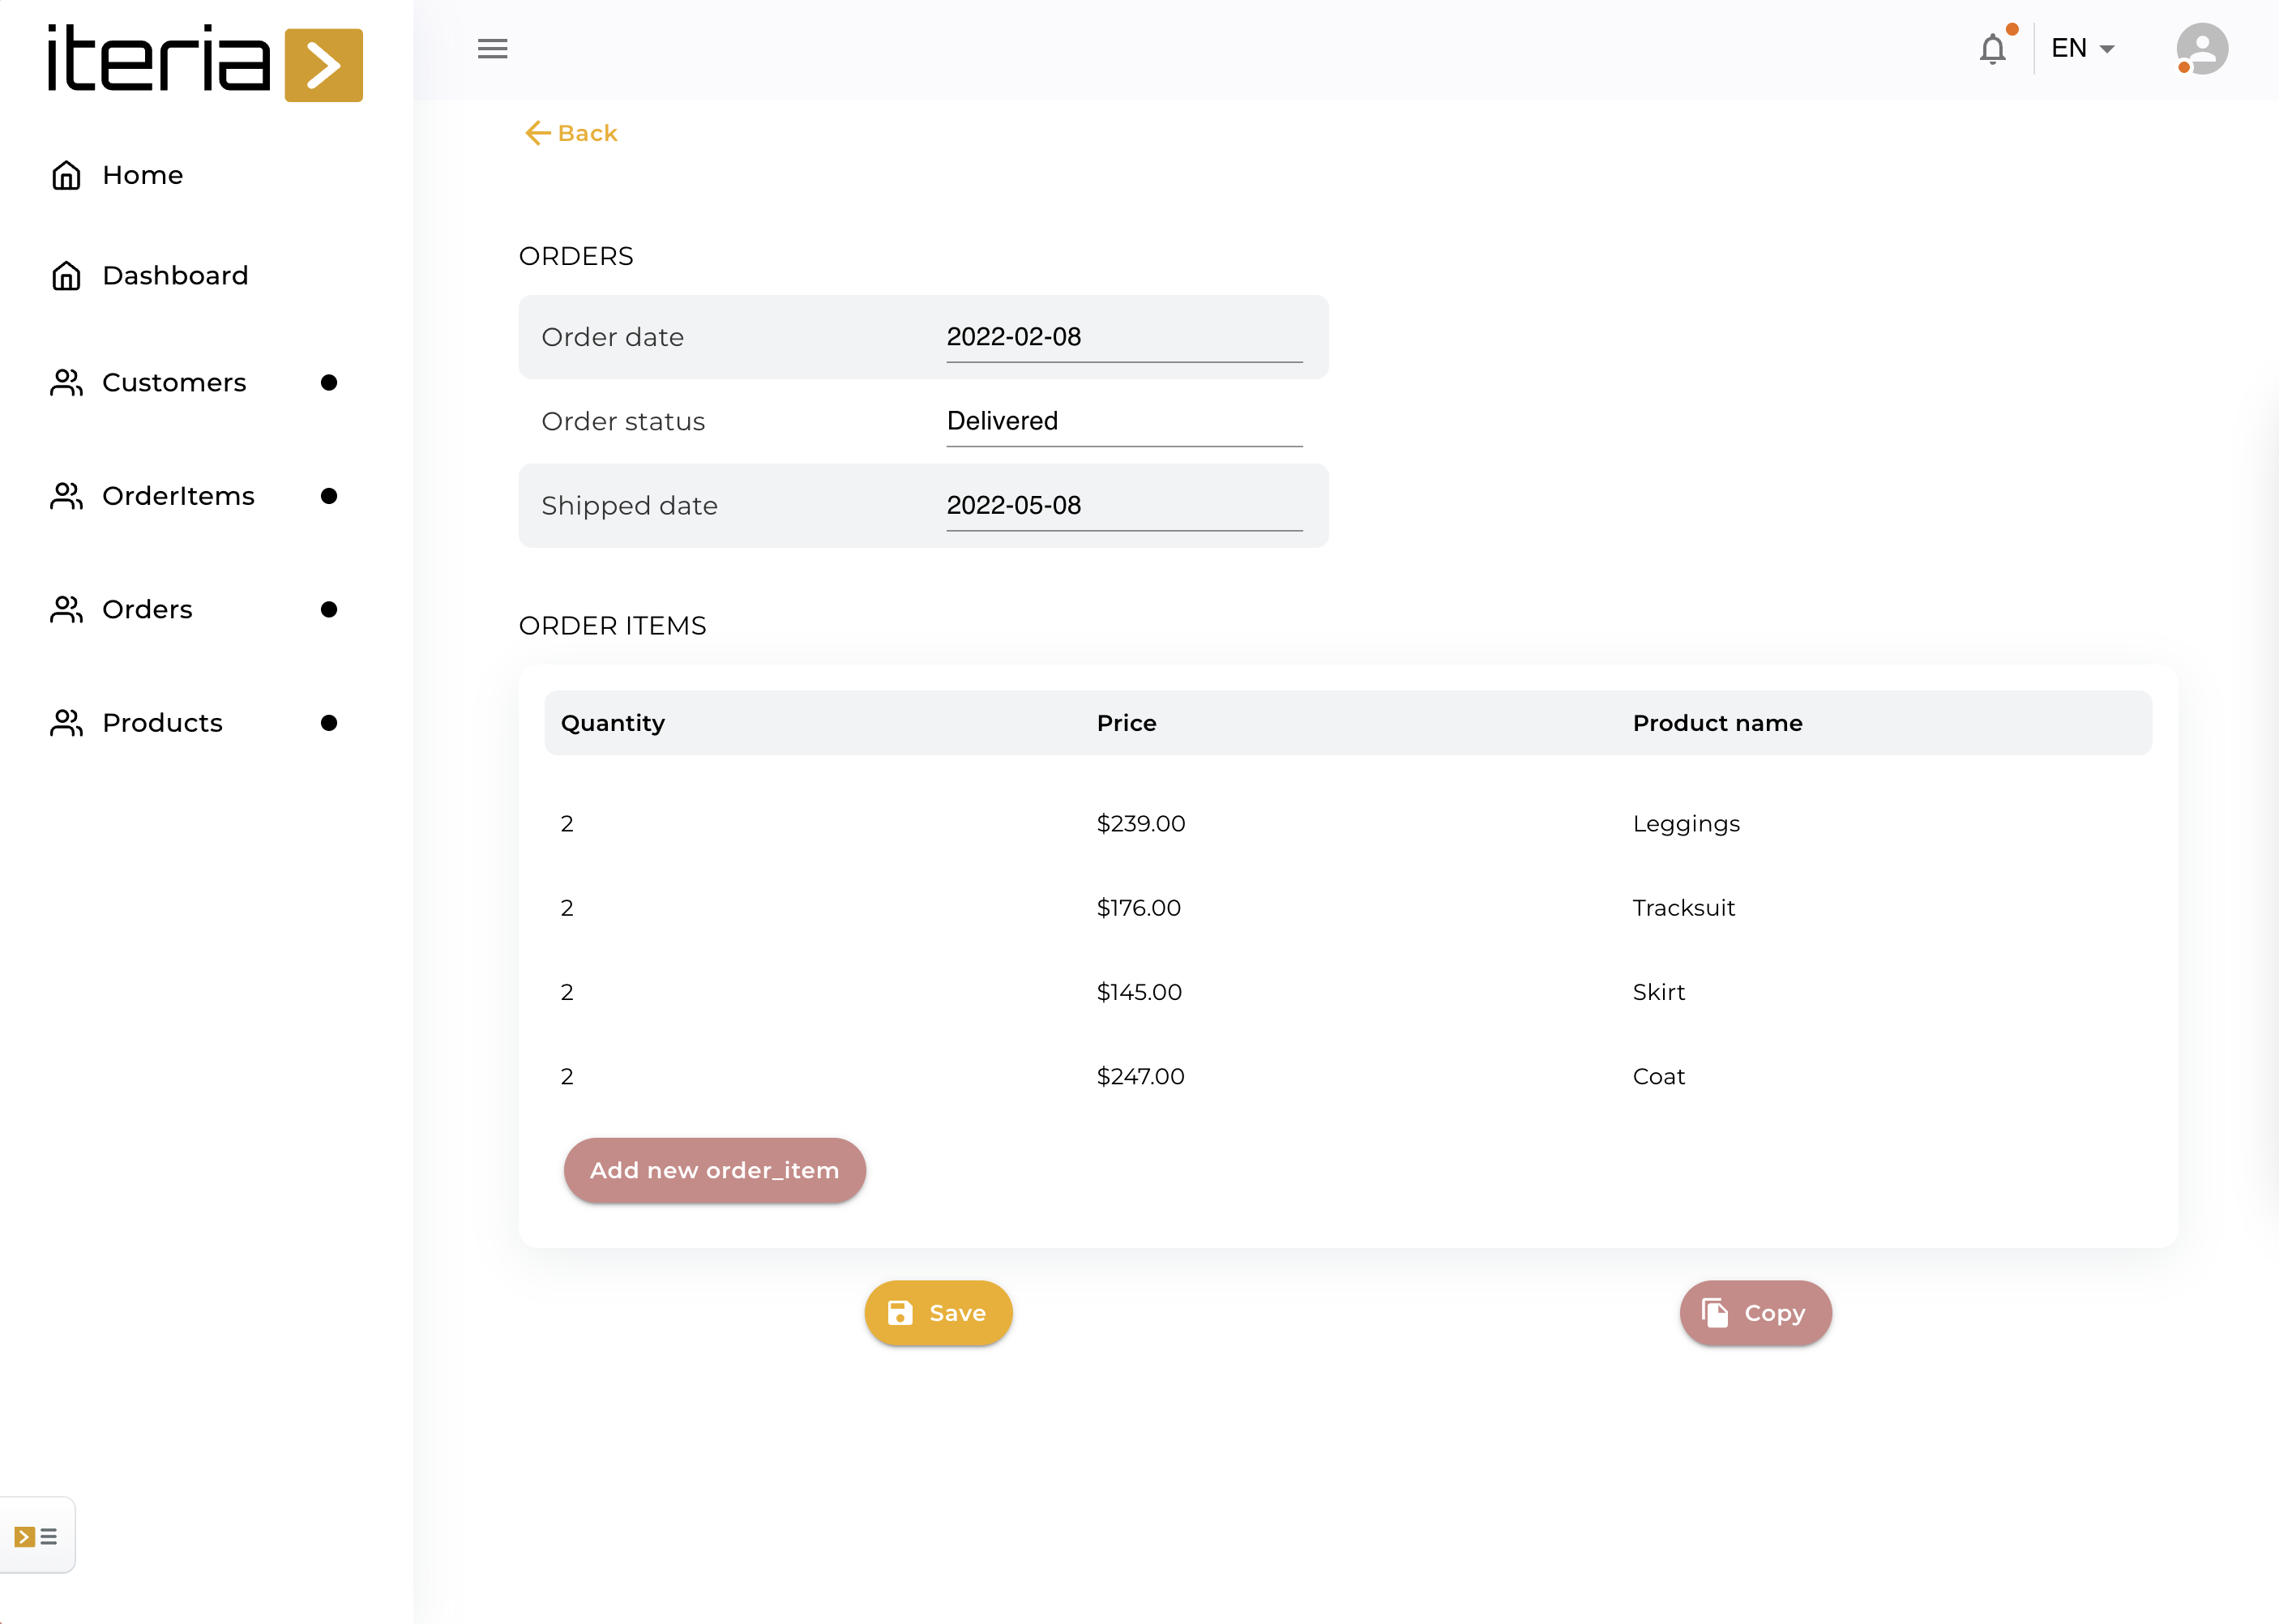 | Order Items data table templae |
| 9. Add Product Components | 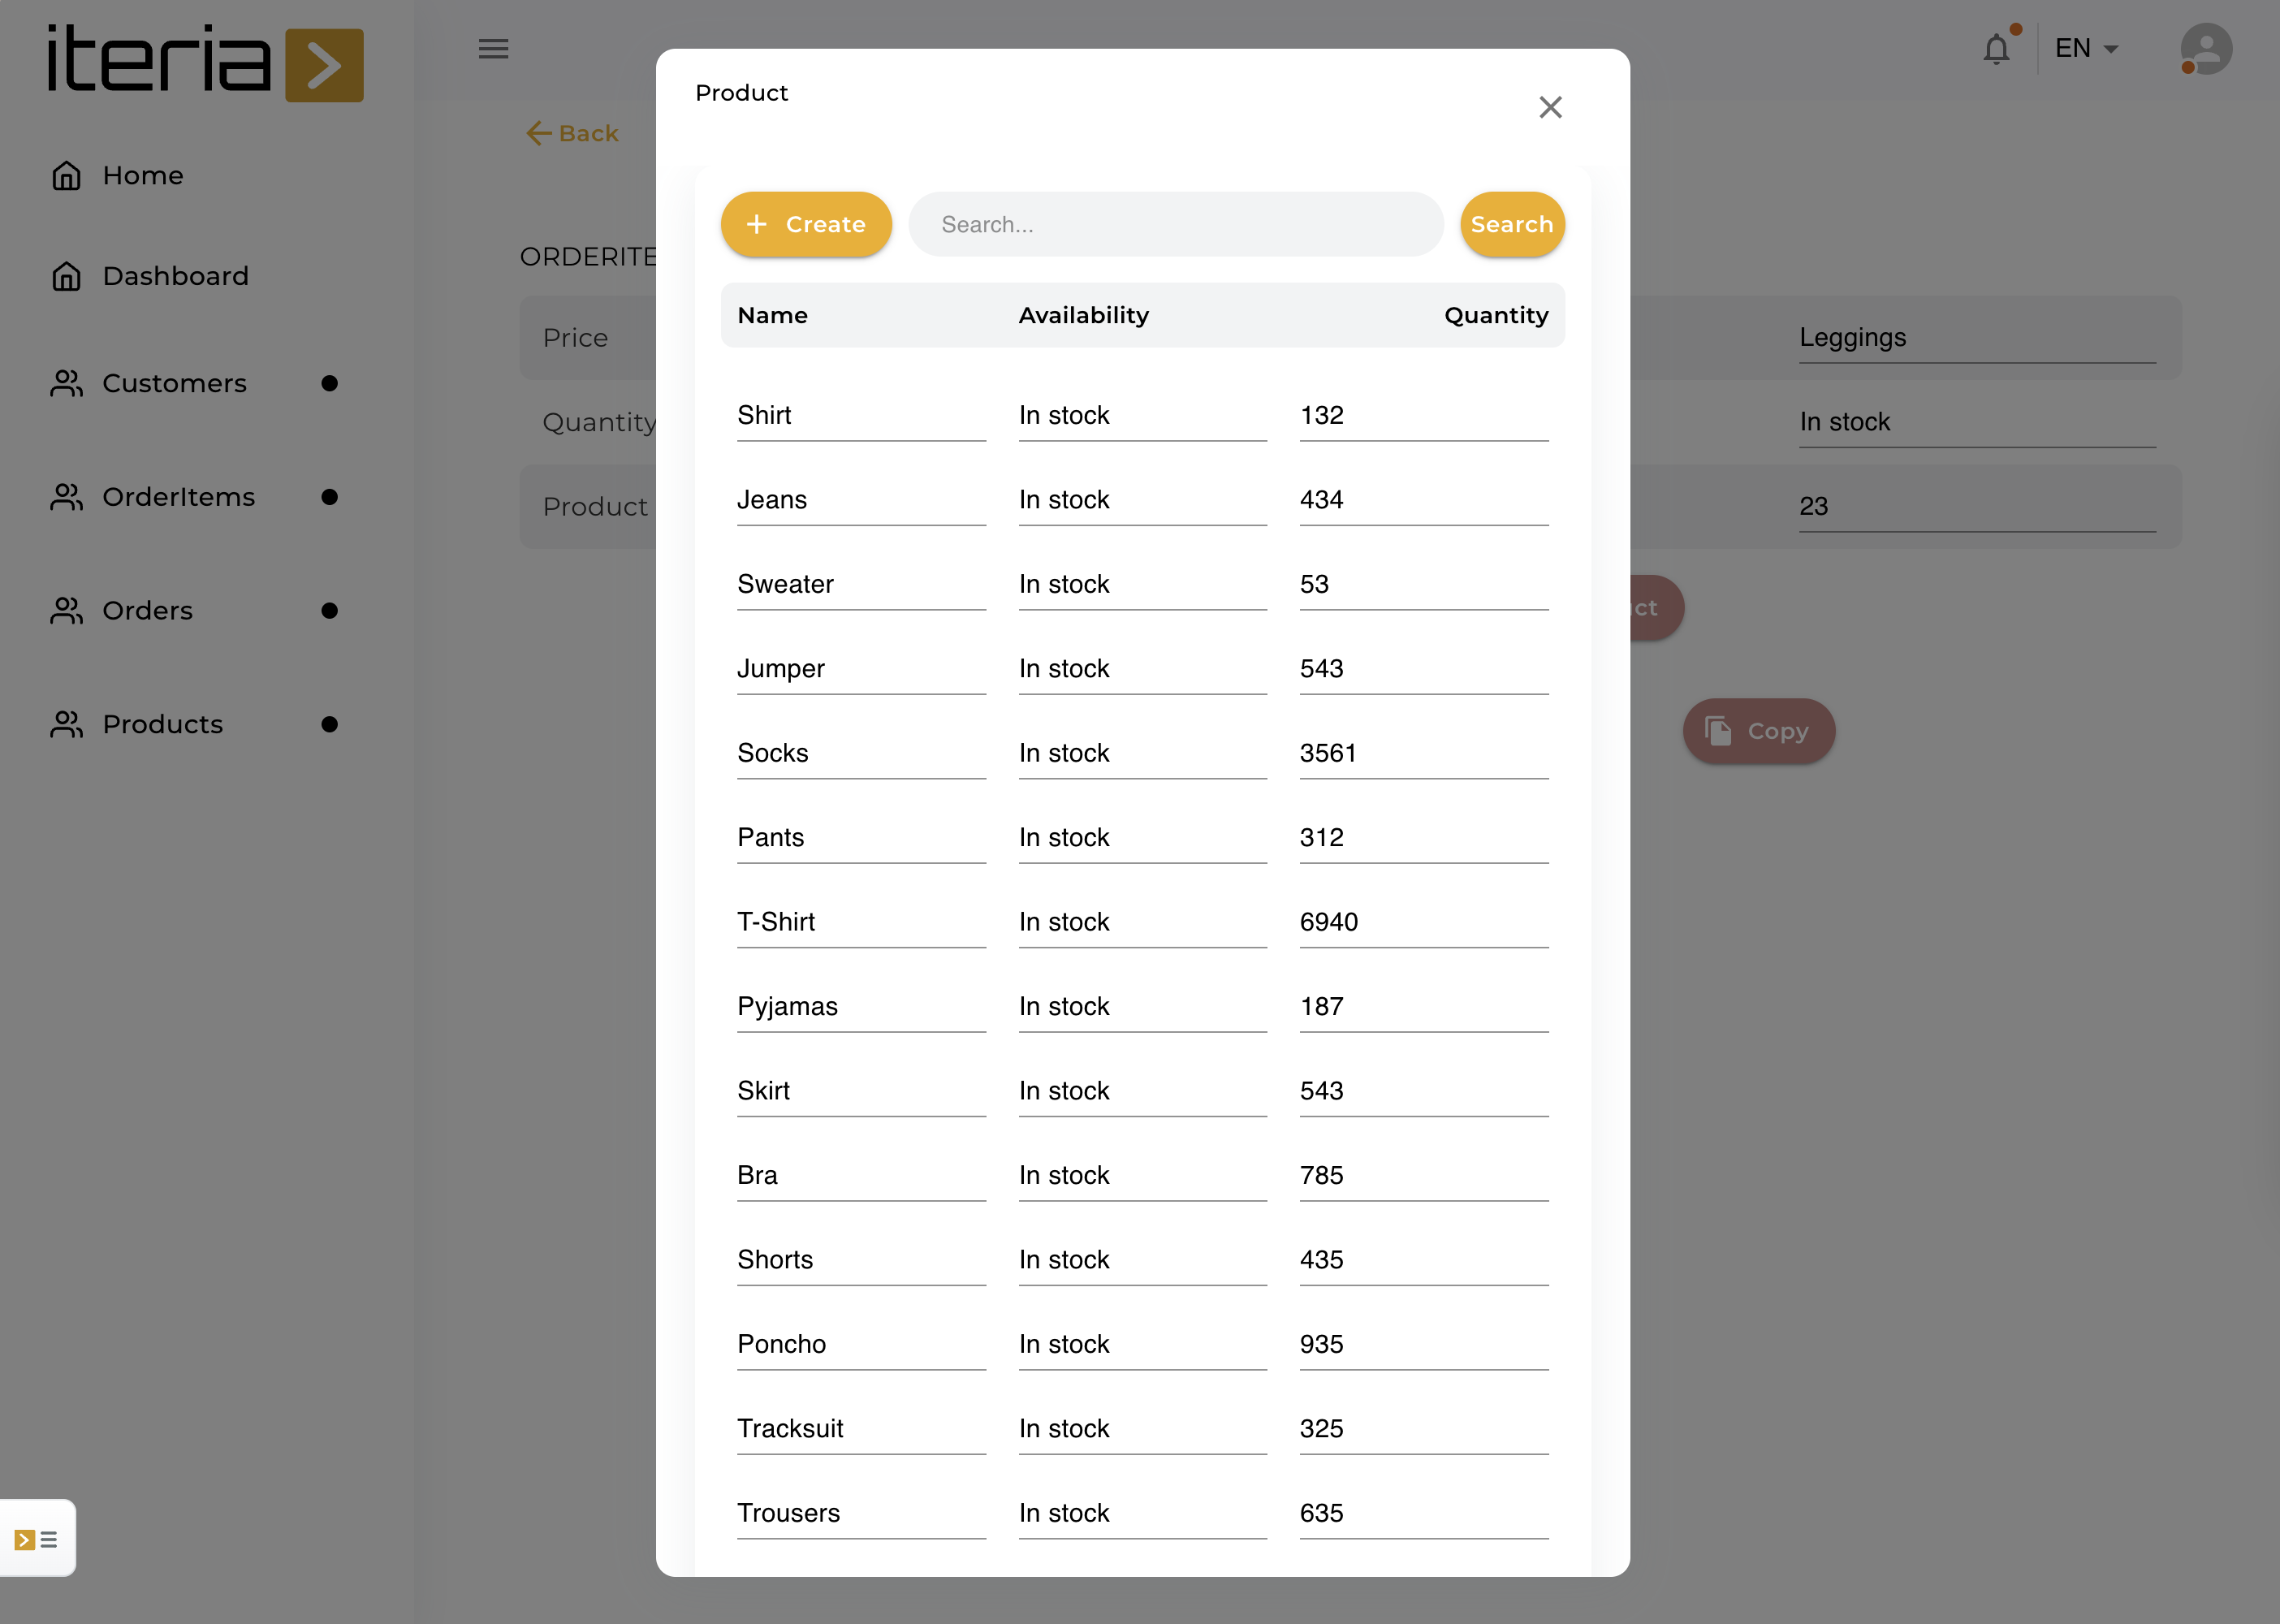 | Lookup for a product |
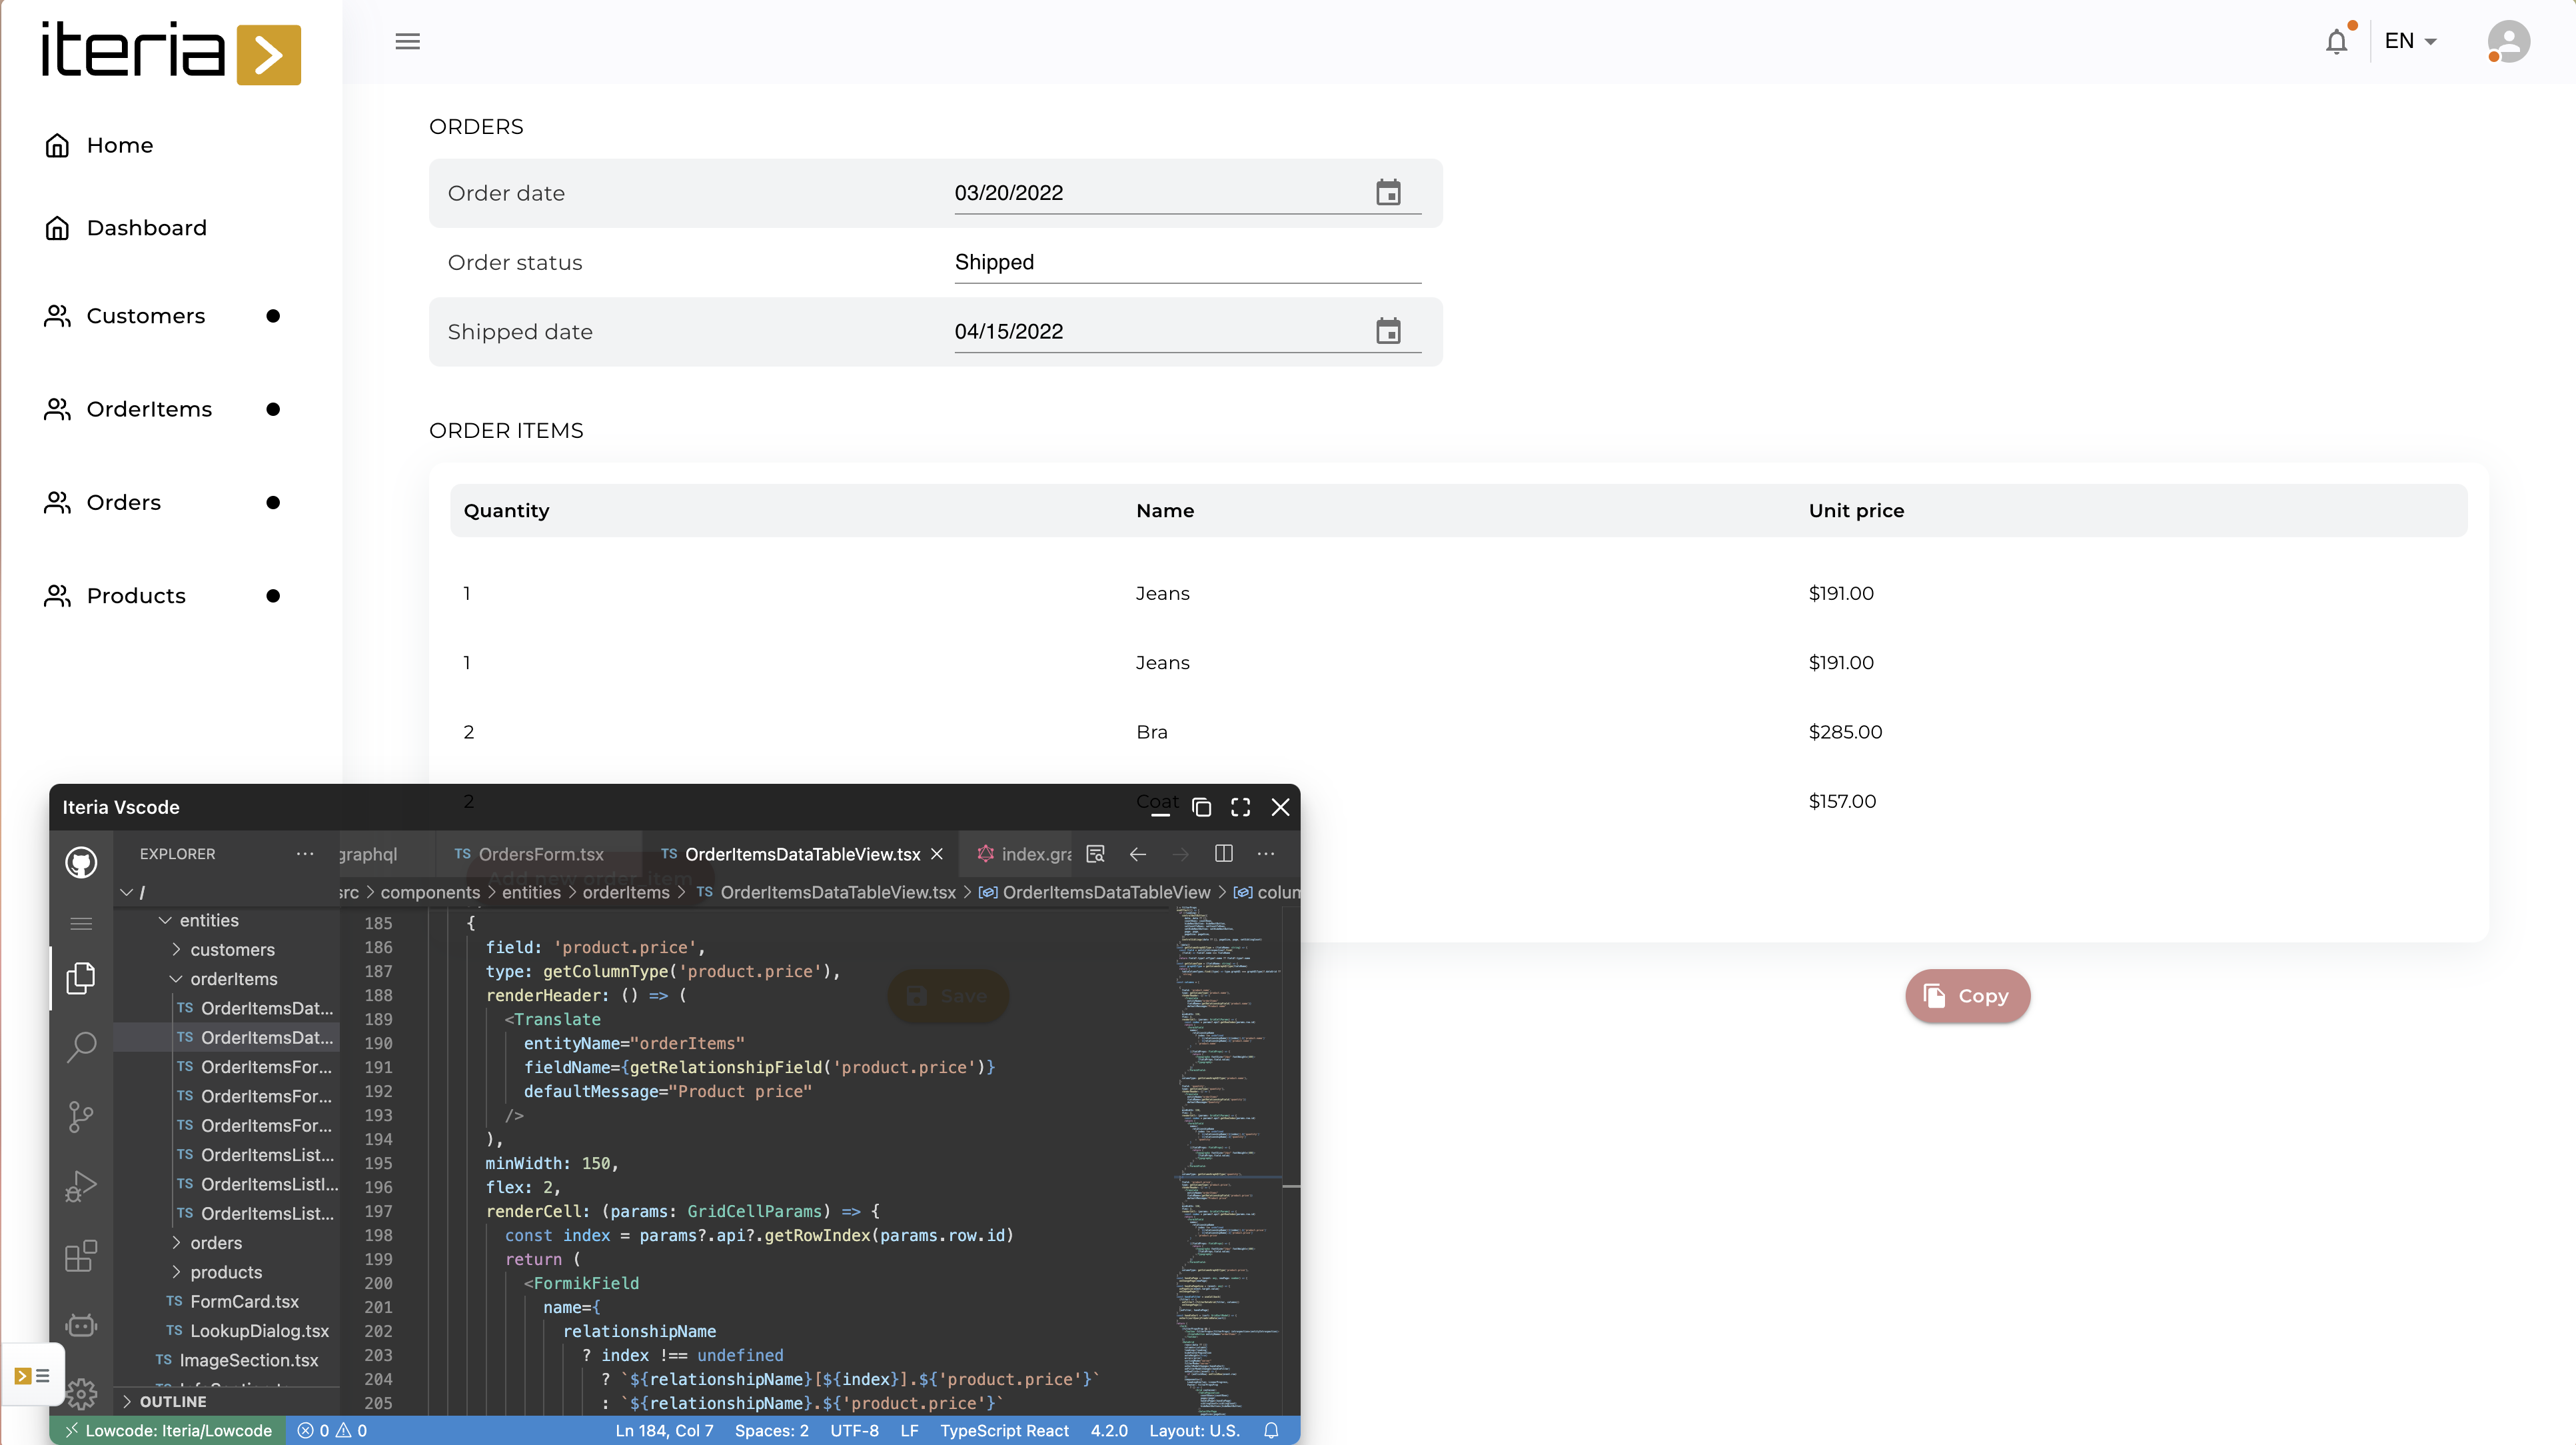
Modify the code for order detail
Goal is to develop the function (modify the source code) which calculates total price from unit price and amount(amount * price = total price).
This is what we have now:
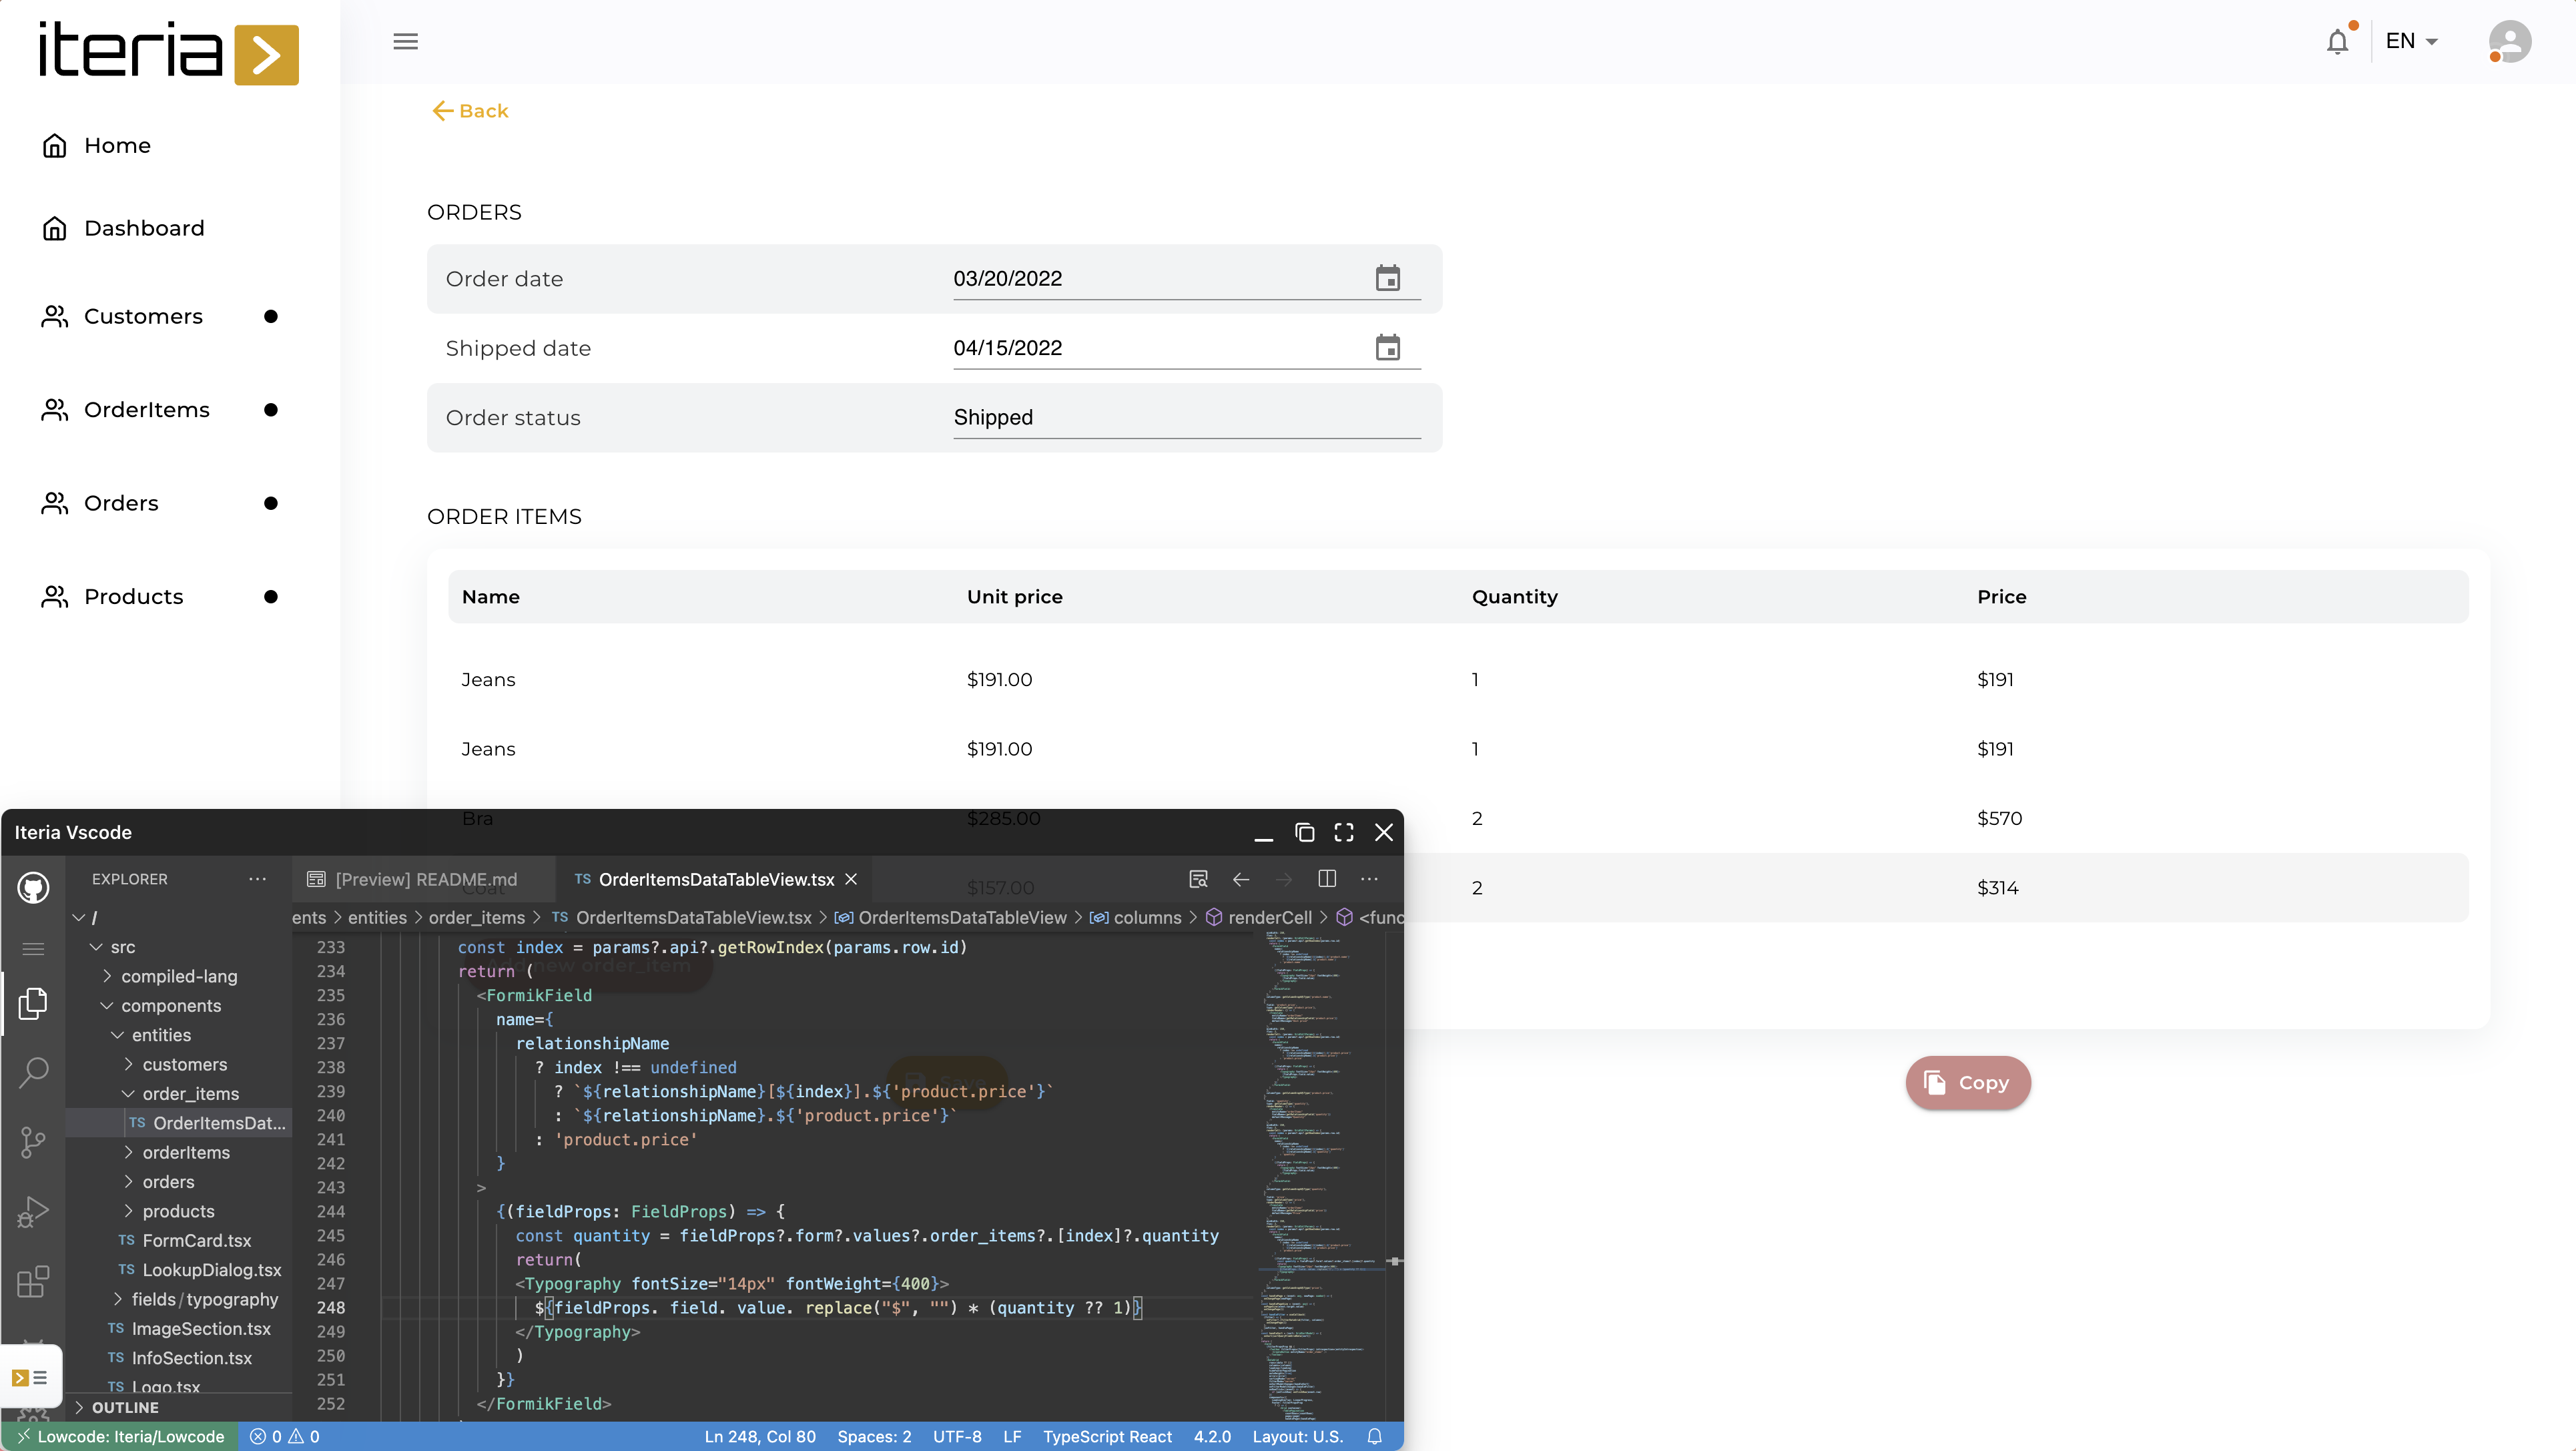
This is after we modified the source code of table as you can see below and on row 248 you can see calculation of price from unit price and quantity:
${fieldProps. field. value. replace("$", "") * (quantity ?? 1)}
columns = [
    ...
    {
      field: 'price',
      type: getColumnType('price'),
      renderHeader: () => (
        <Translate
          entityName="orderItems"
          fieldName={getRelationshipField('price')}
          defaultMessage="Price"
        />
      ),
      minWidth: 150,
      flex: 2,
      renderCell: (params: GridCellParams) => {
        const index = params?.api?.getRowIndex(params.row.id)
        return (
          <FormikField
            name={`${relationshipName}[${index}].${'product.price'}`}
          >
            {(fieldProps: FieldProps) => {
              const quantity = fieldProps?.form?.values?.order_items?.[index]?.quantity
              return(
              <Typography fontSize="14px" fontWeight={400}>
                ${fieldProps. field. value. replace("$", "") * (quantity ?? 1).toFixed(2)}
               </Typography>
               )
             }}
          </FormikField>
        )
      },
      columnType: getColumnGraphQlType('price'),
    }
]
Use CRUD functionality
On video below you can see how to use following operations (create, update, sort, filter, pagination and view in detail all the fields in table) on generated pages. In detail, you can edit or duplicate the current row.
Final modifications & commit
| Final steps | Screenshot | Description |
|---|---|---|
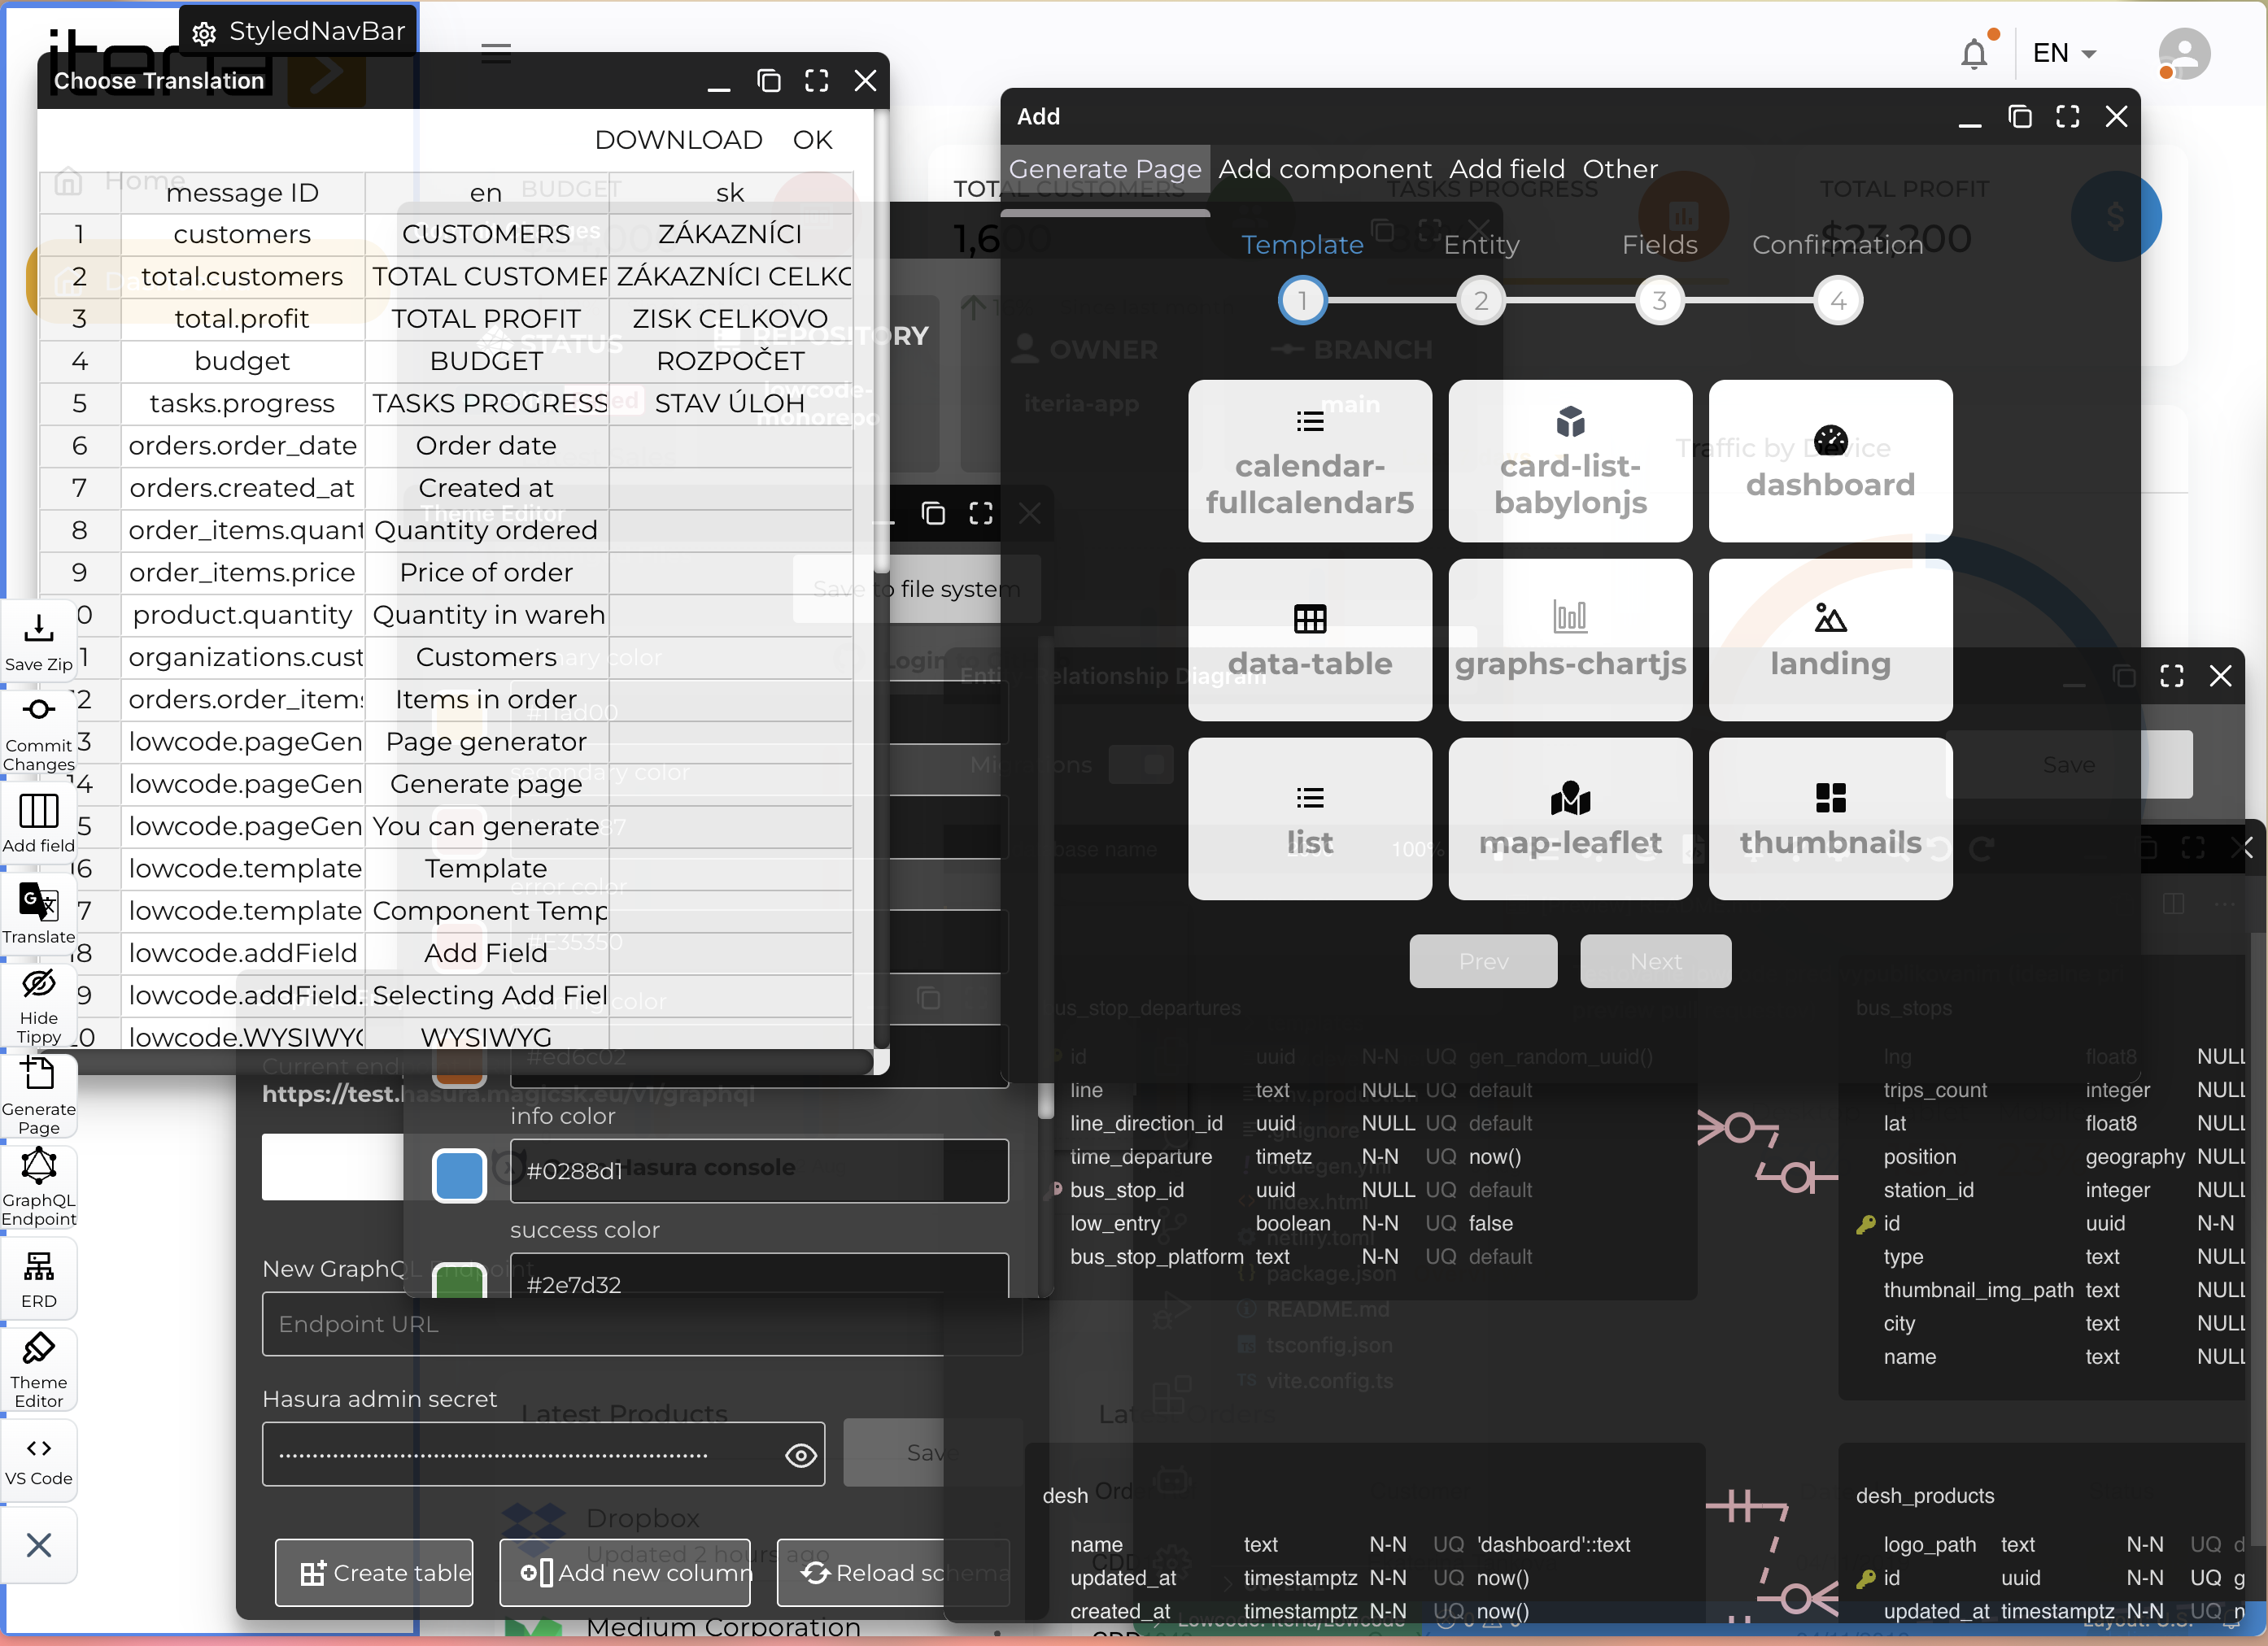
| 6. Translate | 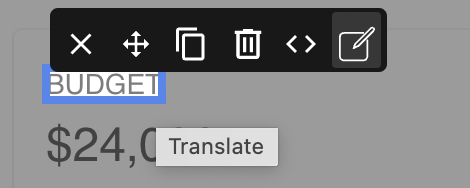 | In the top right corner you can choose the actual language. Then with the tippy tool you are able to inline edit any text on the page. |
| 7. Change theme / colors | 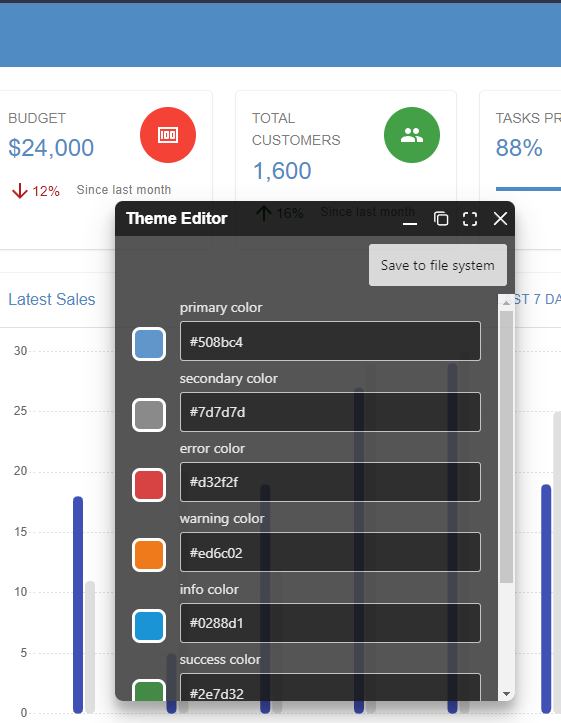 | By clicking on Theme editor in floating menu, you can change colors of the theme. |
| 8. Save / Commit to GIT | 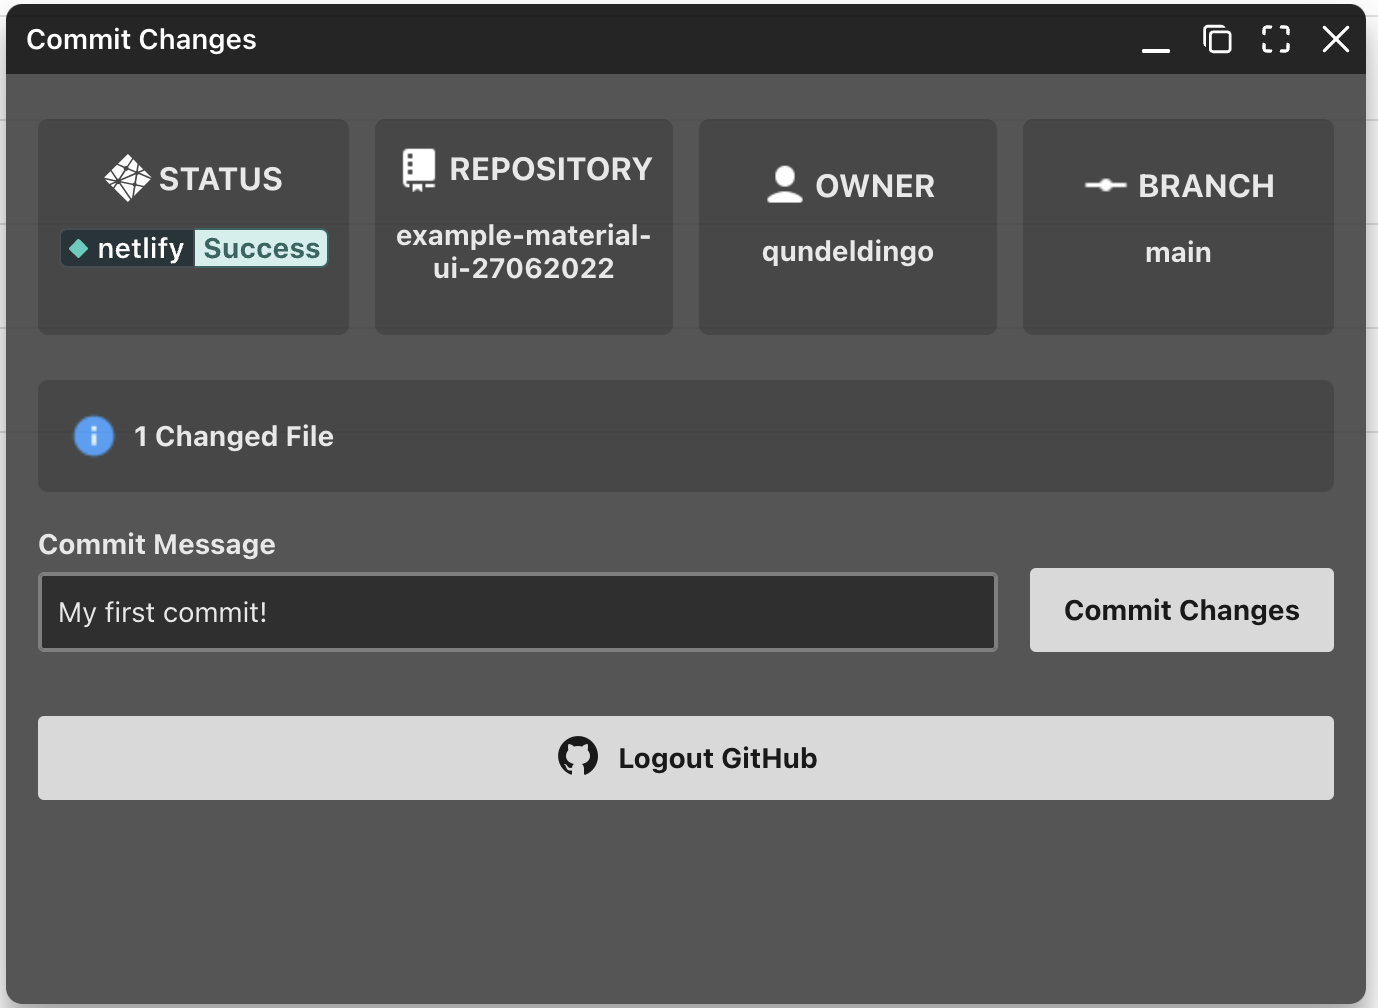 | After connecting your Github account progress can be saved by commiting to your repository. |